
If you’ve been following along with the Dry Fire Series post and putting what we’ve covered into practice, then at this point the fundamentals corresponding to trigger control and the draw should have a good foundation. If nothing else they should have some semblance of consistency. At this point, we could go one of two ways. The first way would be to work on improving marksmanship fundamentals and practical skills. The other way is to work on other operational processes. I’m going to go with the latter choice for this post for a couple of reasons. First, it’s the one that requires the least investment. Secondly, it’s something that I find to be often overlooked and under practiced. Enter the reload.
Why the reload?
In the grand scheme of things, fast and consistent reloads are going to matter most to avid competitive shooters who are looking to become more competitive and those who are likely to encounter prolonged gunfights, like law enforcement and military. However, it’s something that is going to matter to every single person who studies the way of the gun. It’s also something that every single person who shoots pistols will do a whole lot of without giving it much of a thought if any thought is given to the task at all. Since reloads aren’t given much heed early on, they often become something that needs to be relearned by those who wish to improve sooner rather than later. As such, I figure learning how to reload well early short circuits the learning process by avoiding something that will likely have to be unlearned and relearned.
Just like in the prior posts in this series, we aren’t going to concern ourselves with speed. Instead, we will continue to focus on the process.
The Reload Explained
At a high level, the reload process can be broken down into three sub-processes regardless of the type of firearm we are using. These sub-processes are:
- Get the firearm ready to accept ammunition.
- Load ammunition into the firearm.
- Get back on target.
Each of those sub-processes can be broken down further. The specific steps are going to vary by firearm. For the sake of brevity, this post will focus on semi-automatic pistols. Other platforms are outside of the scope of this post, but know that the concepts and principles can be applied to them.
Another thing worth noting is that each of the sub-processes can be trained independently and arguably should be especially when attempting to improve or change an aspect of a specific sub-process. This is a training concept known as “chunking”. Additionally, chunking can be used to facilitate training and practice in places where practicing the entire process is suboptimal, like at a public indoor range where dropping a magazine on hard concrete increases the chance of damaging the loading device which may end up forward of the firing line where it can only be safely retrieved by calling a ceasefire. Not to mention that chunking can also be used to reduce the amount of bending down and picking things up off the ground which can make practicing reloads exhausting and less fun. We’ll cover this in more detail later in the post.
As always, before we begin, we need to get our Dry Fire Dojo in order. This is critical not only to development of the skill, but to ensure it is done safely. Remember safety first and always. For a more detailed discussion on preparing the Dry Fire Dojo can be found in the first post of this dry fire series. As a quick recap, here is the process:
- Find a space that is safe to practice in and free from distraction
- Let other folks in the residence know that you will be practicing for the next several minutes
- Set up a small aiming reference oriented in a safe direction
- Make the environment completely free from ammunition
- Confirm the condition of the gun is unloaded and clear
- Say out loud, “I am now starting dry fire practice”
In addition to these steps, there are a few more housekeeping items we need to do to get ready for working on reloads. These are:
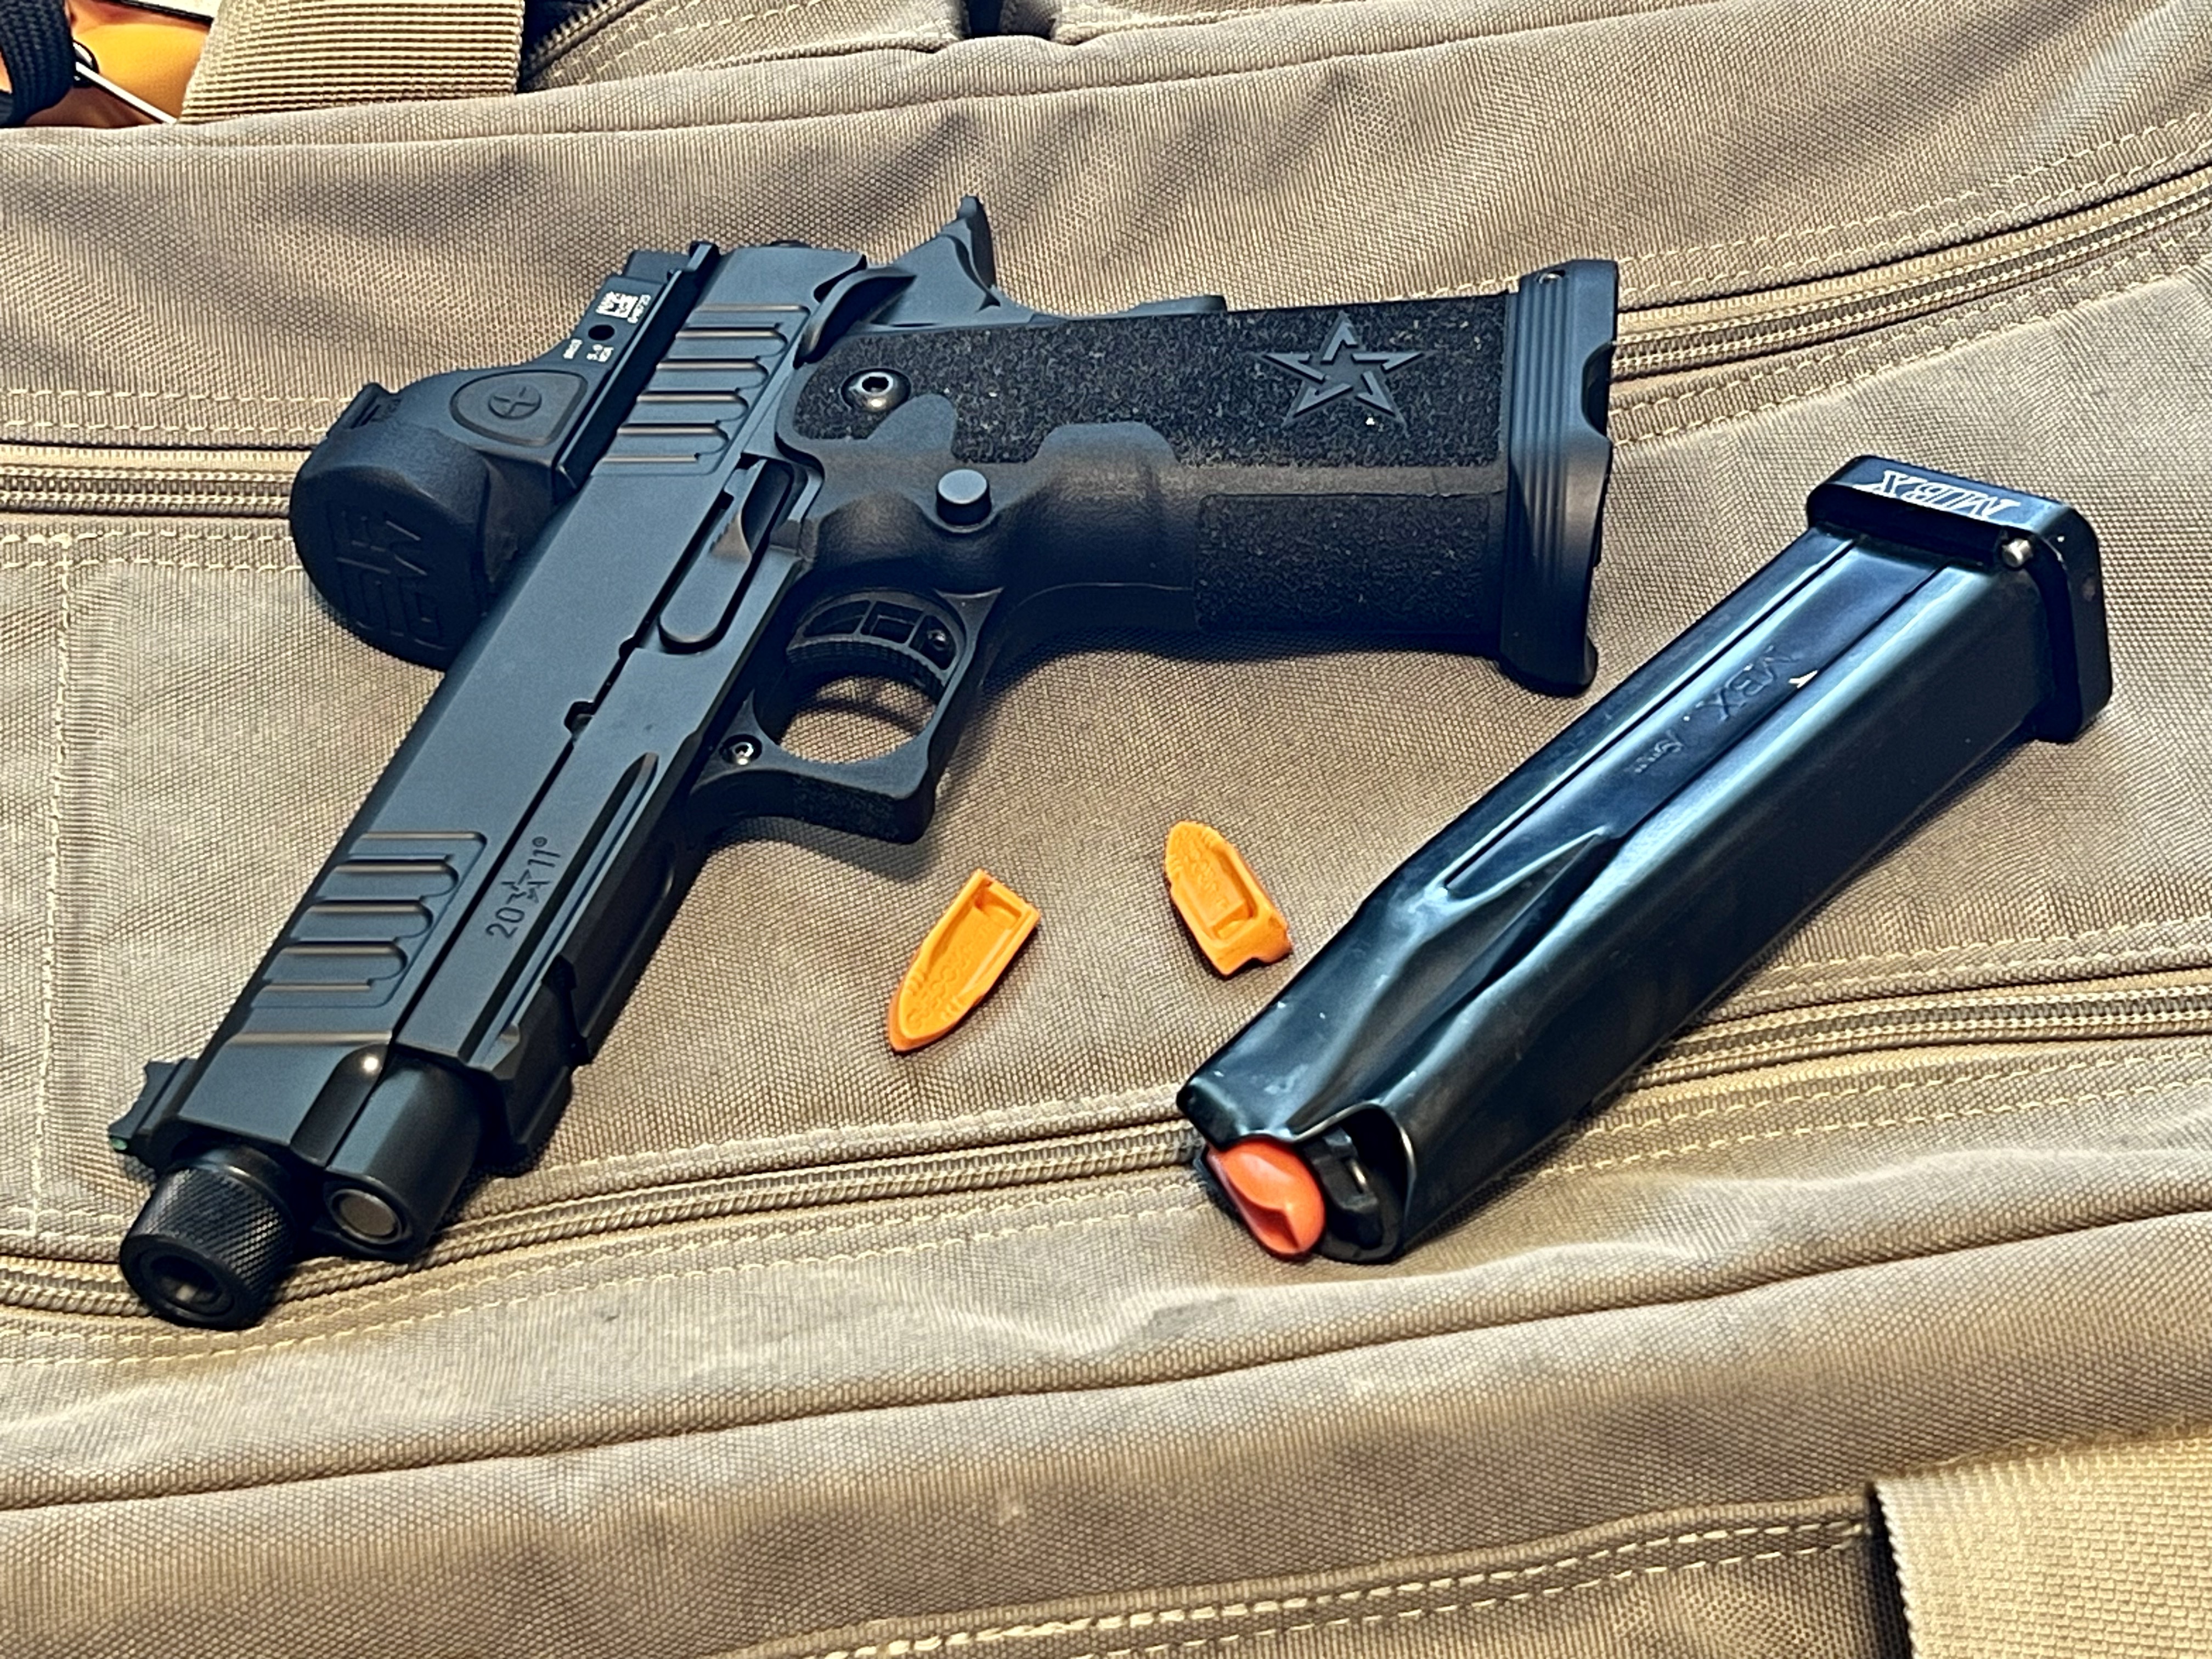
- Having a one or more empty magazines ready to go – ideally in magazine pouches attached to the belt like they are normally carried, but a pocket will work fine if that is all one has or how one normally carries a spare magazine
- Optionally, set up something to catch released magazines (we look at some options shortly in this post)
- Optionally and highly recommended, have a couple of Tap Rack Dry Fire Training Aids or BlokSafety MagBloks handy
Now for the drill. Or technically drills, since I’m going to chunk into two parts just as Karl Rehn taught me.
Chunk 1: Getting the Pistol Ready to Accept Ammunition
As mentioned, the first part of the reload involves getting the pistol ready to accept ammunition. In the context of a semi-automatic pistol, this means releasing the currently inserted magazine from the pistol. The steps for this process are as follows:
- Start with the pistol at full extension with a two hand grip aimed in at the aiming reference with the finger on the trigger
- Move the trigger finger onto the flat of the frame or the slide, and bring the pistol to position 3 of the draw (that is close to our chest with the pistol still aligned with our dominant eye)
- While bringing the pistol in to position 3, actuate the magazine release button (or paddle) while keeping the pistol perpendicular to the ground so that gravity ensures the magazine falls freely
- As soon as possible, move the support hand away from the gun and grab the replacement magazine without moving the magazine from its stowed location
- Set it up again and repeat


There are a couple of things to note in these steps: the set up prior to starting, mentioned in step 4, and the details corresponding to actuating the magazine release in step 3.
The setup can be done one of two ways: with an empty magazine inserted or without a magazine inserted.
Starting without a magazine inserted affords us the most repetitions with the least amount of set up. Meaning more reps in less time. While the goal here isn’t to get in as many repetitions in the shortest amount of time, there is something to be said about getting more reps in nevertheless.
Starting with a magazine inserted affords us the opportunity to confirm that the magazine will fall freely with our technique which is a good thing that we should be checking at least from time to time if not all the time. Of course, bending down and picking it up is tiring as it is time consuming. Not to mention that repeated drops of the magazine onto a hard surface can damage both the surface and the magazine. This is where having “something to catch the magazines”, which was mentioned earlier, comes in. This “something” can be any number of things. It can be a bed that we can stand right in front of. It can also be a bunched up jacket on top of a table or chair that we can stand right in front of. My personal favorite is a vehicle dog booster car seat on top of a chair. Whatever it is, as long as it’s something that is soft and about waist high, it will protect dropped magazines and eliminate or minimize bending down most of the time.
Actuating the magazine release can be done a few different ways. The most important principles here are that the method used is consistent and reliable. Ideally, the actuation occurs without breaking the master firing grip which will be important for consistently getting back on target after the reload is complete. For those of us who can’t reach the magazine release button (or paddle) with primary hand thumb, there are some options:
- Use the support hand thumb to actuate the magazine release as we bring the pistol back into position 3
- For those with ambidextrous magazine release controls (like most paddles), using the trigger finger to manipulate the magazine release
- For those with reversible magazine release controls, reversing them and using the trigger finger to manipulate the magazine release is also an option

With regards to the support hand, it should begin moving to grab the replacement magazine as soon as possible. This might be as soon as the trigger finger begins to move off the trigger or after it has actuated the magazine release button. Whatever the case maybe, a consistent process is what we are after.
As we did in the prior post in this series, be present during the drill and be aware and mindful of everything. What sort of things should you be watching for?
- Did the trigger finger come off the trigger and on to the flat of the frame or the slide (assuming it isn’t moving to actuate the magazine release)?
- Did the pistol remain perpendicular to the ground as it was brought to position 3 and while the magazine release was actuated?
- If using the support hand thumb, are you using a physical index to guide the rotation of the thumb from its forward or up position to the magazine release? If not, is there one available such as the trigger guard on the index finger?
- Is the support hand grabbing the replacement magazine consistently? How is it indexed?
- What is your vision focused on during this process? Is that where your visual focus should be?
- What did your head and shoulders do? Did they bunch up?
- What other unnecessary extraneous movement occurred?
Let’s move on to the next two sub-processes.
Chunk 2: Loading Ammunition and Getting Back on Target
A quick note before getting into this chunk: if you are struggling with the last part, getting back on target. Then practice extending the pistol from position 3 to position 4 of the draw independently in your dry fire practice.
The starting position for this chunk can be done in a wide variety of ways depending on the type of reload one is working on. Afterall there are three different types of reloads:
- Speed reload – replacing a partially or completely empty magazine with a full one while there is still a round in the chamber
- Emergency or slide-lock reload – replacing a completely empty magazine with a full one while the chamber of the pistol is empty and slide is locked to the rear
- Tactical reload – replacing a partially or completely empty magazine with a full one while there is still a round in the chamber while retaining the partially spent magazine
As a side note, I’ve heard of a fourth type of reload referred to as a reload with retention. However, I see it is a variation of a tactical reload where the spent magazine is retained. At any rate, the nuances between reload methods is beyond the scope of this post. The point in mentioning them is to make readers aware that the starting point of this drill can be adjusted depending on what one wants to work on. Moreover, this chunked drill works best for the speed and emergency reloads and really doesn’t work with the tactical reload, at least not well. In my opinion, tactical reloads are best practiced with the full unchunked drill which we will get to as soon as we are done looking at this chunked drill.
Another variation for the starting point of this drill is the muzzle orientation. More specifically, the muzzle elevation which can vary from straight towards the back stop to an upwards direction. It’s important to practice different muzzle orientations because we want to maintain the muzzle orientation in the direction of least consequence, which can vary during a reload depending on the environment and surroundings.
Alright. Enough preamble. Let’s look at the steps involved in this for a speed reload:
- Start with a magazine in the support hand with the index finger indexed along the front of the magazine situated about an inch away from the magazine well and the gun in the strong hand rotated so that one can see the inside of the magazine well
- Insert the magazine into the pistol pressing it in firmly with the palm of the support hand
- Rotate the support hand and reform the two hand grip while rotating the pistol back to be perpendicular to the ground.
- Extent the pistol out from position 3 to position 4 ending aimed at the aiming reference with the slack out of the trigger
- Set it up again and repeat


For emergency or slide-lock reloads, ensure the magazine that will be inserted had either a Tap Rack Dry Fire Training Aid or BlokSafety MagBlok inserted. Adjust step 1 so that the pistol starts with the slide-locked back. Adjust step 3 so that the support hand actuates the slide release lever (or slide lock lever depending on your preferred nomenclature). For left handed folks using pistols without an ambidextrous slide release lever or folks who prefer the over hand method, adjust step 3 so that the support hand rotates over the top of the slide, grips the slide, pulls it back, and releases the slide so that it goes home before reforming the grip. The little doodad in the magazine will prevent the magazine from keeping the slide-lock from staying engaged in this process.
Here are a few things to be mindful of during this chunked drill:
- What is the firing hand thumb doing? Is it upright and out of the way so that the support hand doesn’t end up on top of it?
- When does your vision shift from the magazine well to the target? Does it happen as soon as the magazine goes in? After the slide release lever is actuated? Or after the gun is presented?
- Is your vision focused on the small aiming reference or focused on the general area?
- Are the sights or red dot on target as the pistol reaches full extension? How much movement do they have when the pistol reaches full extension?
- Did your support hand index finger index along the front of the magazine?
- Is the grip you ended with the grip you want/need?
One final thought regarding magazines. Specifically, regarding magazine orientation in magazine pouches. The most common orientation is bullets forward and the second most common is bullets out. The reason these orientations are so common is because they allow us to pre-index the index finger on the support hand along the magazine pouch where the front of the magazine is located. The result is that our support hand index finger ends up indexed along the front of the magazine when we remove the magazine from the pouch. The reason this matters so much is because it creates a proprioceptive index that makes guiding the magazine into the magazine well we are staring at during the reload process an intuitive motion. The use of proprioceptive indexes is a key principle in practical marksmanship.
The Reload Drill
We can now put those two chunks together and practice the entire reload dry and practice any reload end to end. Like this:
- Start with the pistol at full extension with a two hand grip aimed in at the aiming reference with the finger on the trigger
- Start with the pistol at full extension with a two hand grip aimed in at the aiming reference with the finger on the trigger
- Move the trigger finger onto the flat of the frame or the slide, and bring the pistol to position 3 of the draw (that is close to our chest with the pistol still aligned with our dominant eye)
- While bringing the pistol in to position 3, actuate the magazine release button (or paddle) while keeping the pistol perpendicular to the ground so that gravity ensures the magazine falls freely
- As soon as possible, move the support hand away from the gun and grab the replacement empty magazine and remove it from it stowed location
- Rotate the pistol and look into the magazine well and insert the magazine into the pistol pressing it in firmly with the palm of the support hand
- Rotate the support hand and reform the two hand grip while rotating the pistol back to be perpendicular to the ground.
- Extent the pistol out from position 3 to position 4 ending aimed at the aiming reference with the slack out of the trigger
- Set it up again and repeat
There is a lot going on here. There is nothing wrong with practicing the process end to end. In fact, it’s something we should be practicing and something we will have to definitively practice end to end later when working on developing speed. The biggest benefit of junking from a skill development standpoint, in my opinion, is that it lowers the complexity of the drill and by lowering the complexity we reduce the cognitive load which makes it easier to be present, aware, and mindful during the drill. In turn, it makes corrections and changes easier to identify and make.
Another reason that chunking matters is that it allows us to work on sub-processes to the point that we don’t have to consciously think about each step as skill improves. At some point, steps 1-4 become “eject the magazine”, steps 5-7 become “put a full magazine in”, and step 8 becomes “get back on target”. This makes practicing the entire process much less taxing cognitively. Eventually, the entire process becomes “reload”. And that is what we are working towards so that we can add “a reload” to more complicated drills. However, that doesn’t happen automagically. That old adage of “you have to crawl before you walk and walk before you run” exists for good reason. But, I digress.
Note that starting with an empty magazine inserted during step one allows us to confirm whether or not the pistol remains perpendicular to the ground as the magazine release is actuated just like it did in the first chunked drill. Once again, using “something to catch the magazines” will make practice easier.
Also note that starting with an empty magazine inserted during step 1 will be required for practicing tactical reloads or any other reload method that requires the retention of the magazine to be replaced during the reload.
Live Fire Verification
Verifying the two chunked drills or the whole enchilada with live fire is pretty straight forward. All it requires is some ammo and a few minor tweaks. Let’s look at each drill.
Chunk 1: Live Five Version
For chunked drill numero uno, there is nothing to change. It remains the same dry fire drill even at the range. If one feels included to get the pistol ready to accept ammunition after a shot has been fired, then all one needs to do is chamber a round and eject the magazine as part of the set up. That round can be fired before starting the first half of the reload. I don’t really see much value in doing that, but it can be done.
Chunk 2: Live Fire Version
The setup for chucked drill numero dos depends on the reload we are practicing. For emergency or slide-lock reloads, start as you would with the dry fire version of the drill, insert a loaded magazine, and fire a shot or two after coming back on target. The size of the target doesn’t really matter. What matters is that the one or two hits are acceptable. If there are not, then we need to figure out why they aren’t. Diagnosis is beyond the scope of this post, but it would be vision, grip, or trigger control related.
For speed reloads, begin with a round chambered and the magazine ejected. Perform the drill in the same manner as the dry fire version using a loaded magazine and end by firing one or two shots. Just as is the case for the emergency or slide-lock reload, the one or two shots should be acceptable hits.
For tactical reloads, begin with a round chambered and a magazine inserted. Do the same drill using a loaded replacement magazine and end with one or two shots on target. At the risk of sounding like a broken record, I’ll repeat myself. The one or two hits should be acceptable.
The Reload Drill: Live Fire Version
As is the case with dry fire, practicing the entire process is important. Also as is the case with dry fire, picking up magazines of the ground over and over again while practicing reloads sucks. As such, I much prefer starting with an ejected magazine for reloads where magazines are not going to be retained.
The process for the whole enchilada reload drill simply combines the two chunked drills and maintains the same shot placement goals.
Closing Thoughts
I might be projecting a bit here, but reloads aren’t the funnest thing to practice. That said, I can’t deny that having a fast and consistent reload is important when reloads matter. Developing a fast and consistent reload is going to require practice. As such, I figured a post early in this dry fire series helping folks deliberately start establishing a consistent reload will avoid the virtually inevitable bump in the road that is the unlearning and relearning of the reload.
As has been the case with the prior posts in this series, speed isn’t the primary concern. At least, not yet. Right now the focus is on consistency. Even if the technique isn’t perfect, we now have a deliberate plan in dry fire to develop it and improve upon as skills improve. In my opinion, that’s at least one order of magnitude better than having a haphazard reload that was organically habitually ingrained as the result of something will do a whole lot of without paying any heed to it.
Now go forth and practice. Don’t forget to verify your progress from dry fire practice with live fire. Feel free to let me know how it goes either here by adding a comment below or via your preferred channel of communication.


2 responses to “Dry Fire Part 3: Reloads”
[…] times almost every time we use a pistol. As such, this post will build on the part 1, part 2, part 3, and part 4 of this series and introduce working on multiple trigger presses in dry fire practice […]
[…] a short drill that combines the draw, the reload, and controlled pairs which we covered in part 2, part 3, and part 5 of this series respectively. As such, I think it makes sense to introduce it in this […]