

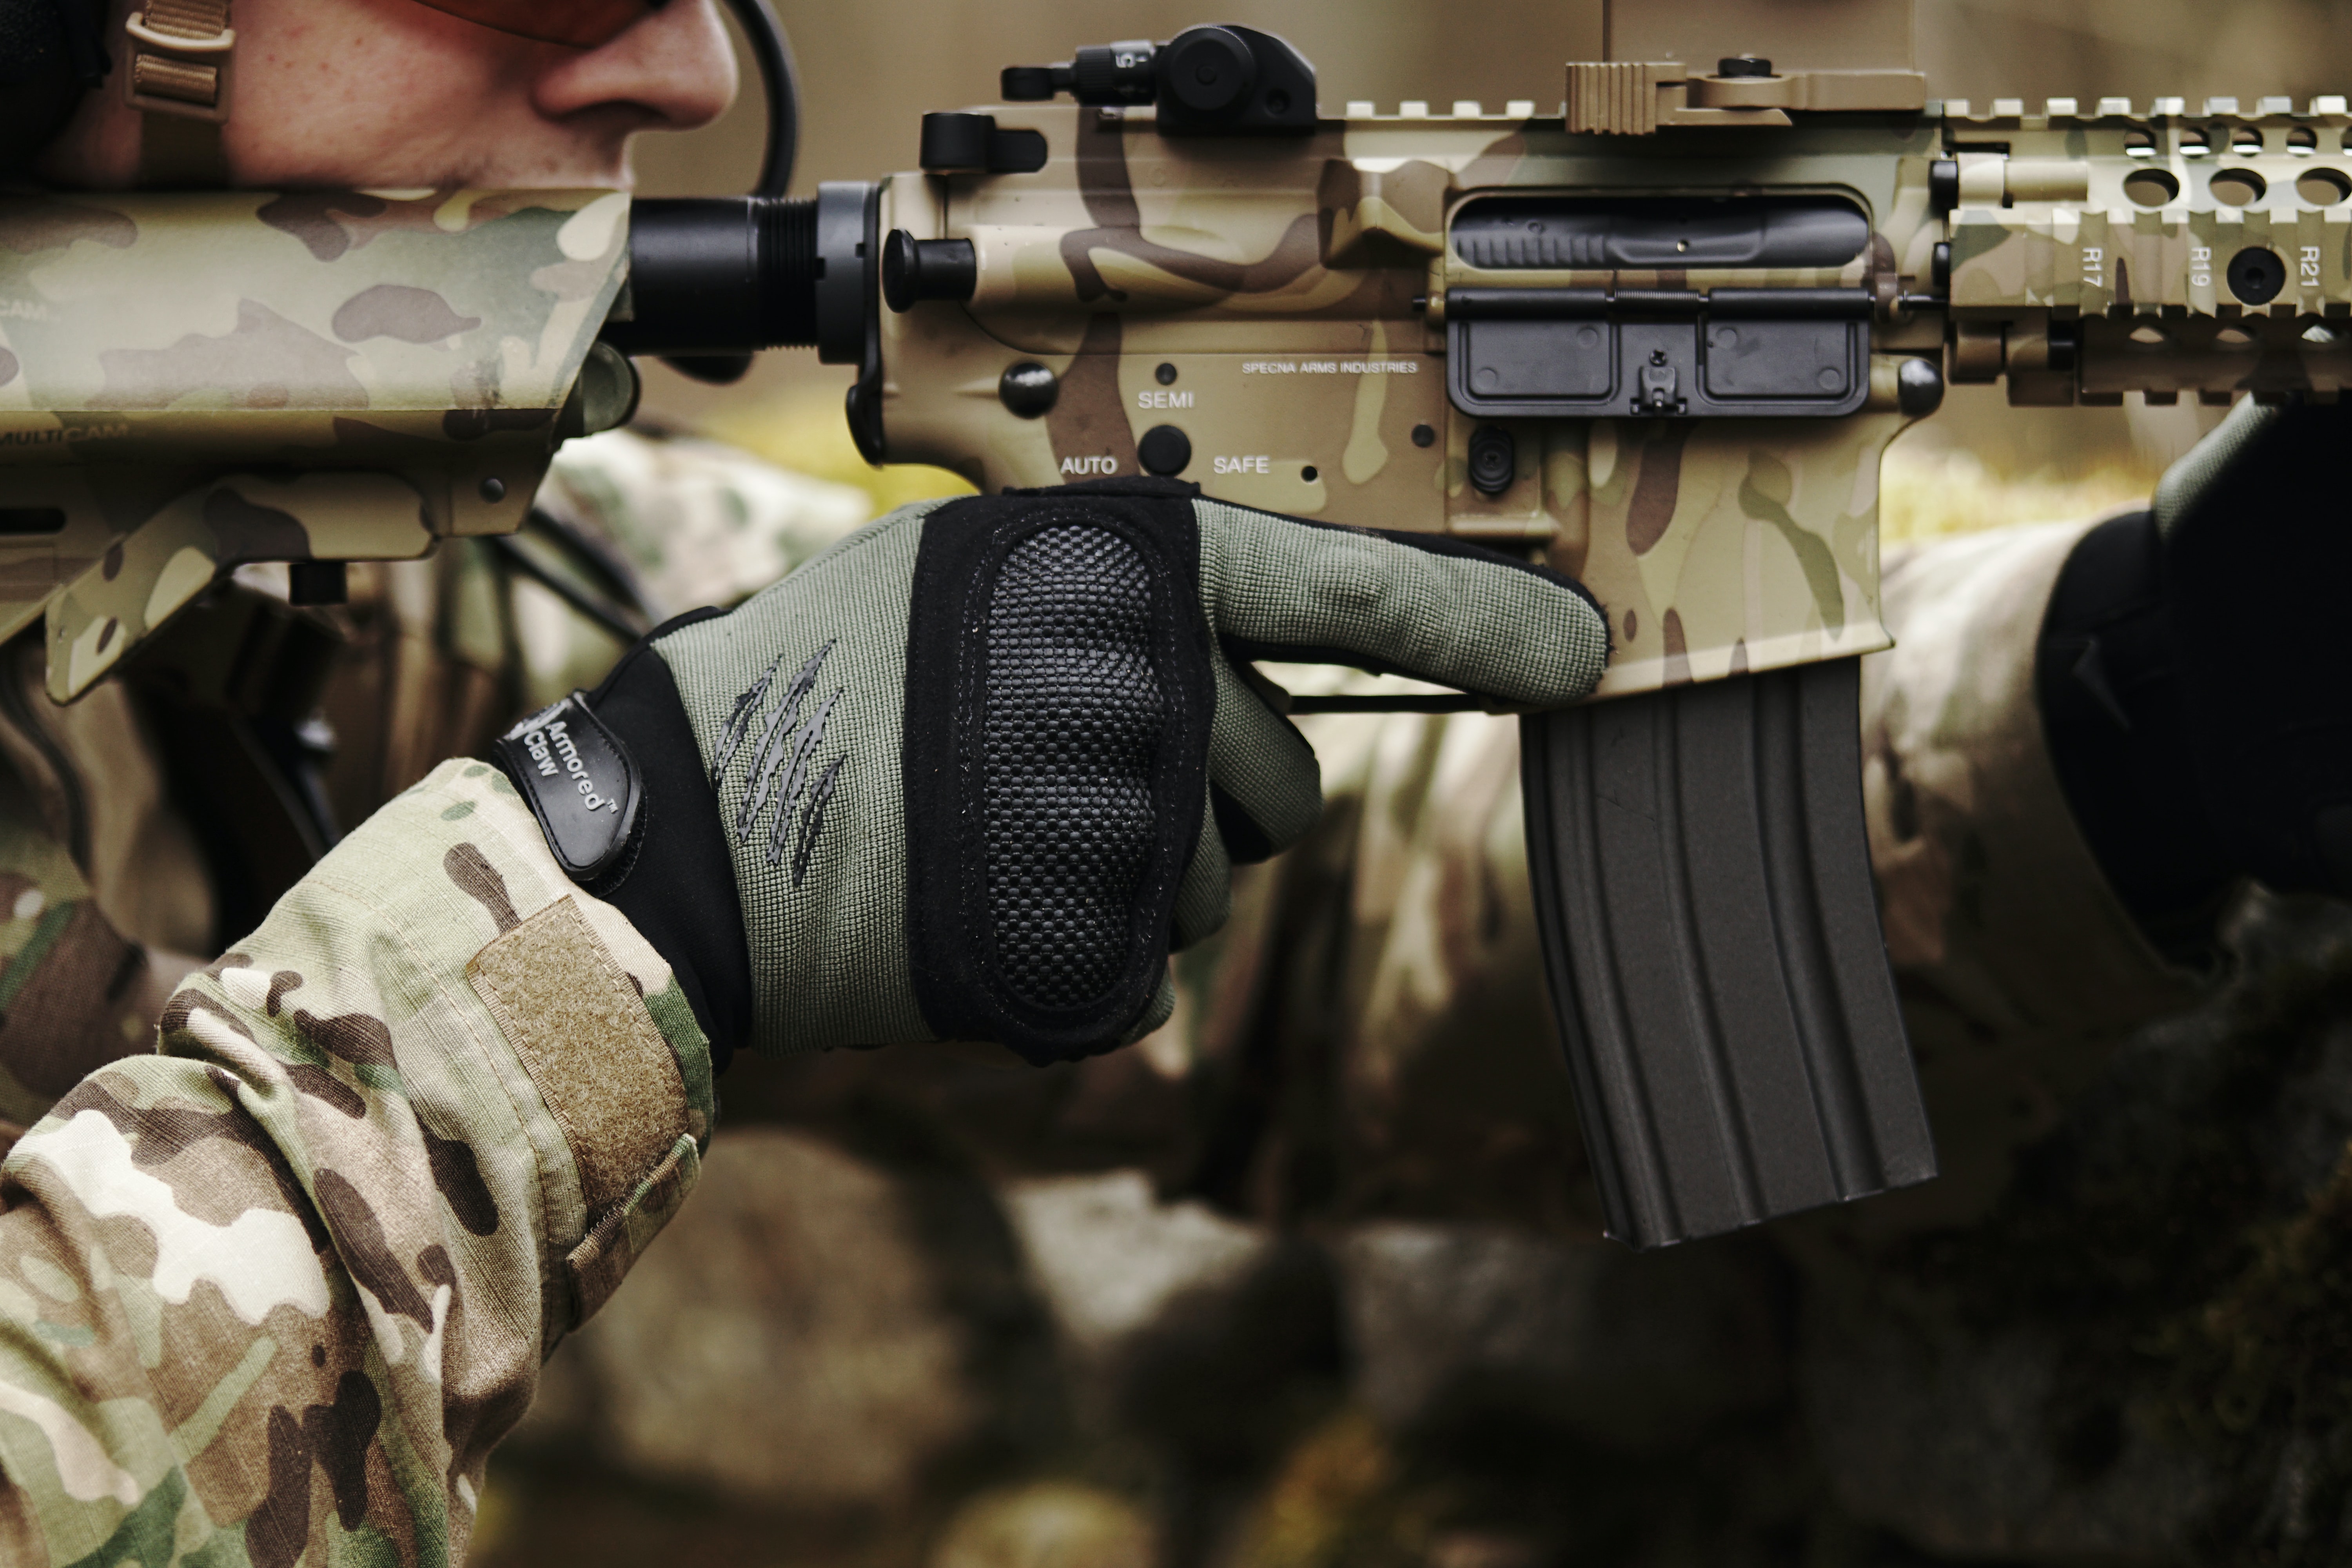
Up until now, all of the drills presented in the Dry Fire Series posts have been limited to a single trigger press at most. That’s been intentional so the focus could be placed on learning how to dry fire effectively and work on the core fundamentals of handgun marksmanship: grip, vision, and trigger. The thing is, outside of a Bullseye shooting context or specialized skill development drills, most of us will be pressing the trigger multiple times almost every time we use a pistol. As such, this post will build on the part 1, part 2, part 3, and part 4 of this series and introduce working on multiple trigger presses in dry fire practice starting with the concept of controller pairs.
Let’s Review
Before getting into the meat and potatoes, let’s take a look at what we have covered so far with the goal of getting our heads right to get the most value out of controlled pairs in dry fire practice.
In part one, we looked at the required equipment for dry fire practice: the gun, an aiming reference, and our attentiveness. We also looked at the practice environment so that it is conducive for effective practice and, more importantly, safe. The protocols for safety should never be discounted or rushed which often happens with complacency that may inevitably lead to a negligent discharge. Get your stuff. Get your head right. Follow the protocols. These things are imperative.
Part 2 focused on learning to get the gun out of the holster and on target safely and efficiently. It also focused on learning how to return the pistol to the holster, which is the activity that is single handedly responsible for the vast majority of self-inflicted gunshot wounds from unintentional discharges, safely, slowly, and deliberately. Assuming drawing and returning the pistol from and to the holster have been practiced correctly and regularly, one should now be able to run that motor program without thinking about the individual steps. In other words, some automaticity has likely been established. If this isn’t the case, then I encourage the reader to return to part 2 and work on the draw and return until it is a familiar motor program.
The focus of part 3 was on the reload which is a more involved process than the draw. Ideally, the reload is now a familiar motor process that doesn’t require conscious thought to perform each individual step like the draw. Unlike the draw however, I don’t think it’s worth returning to right this second if the process isn’t entirely automatic. I’d argue it’s only worth returning to when it becomes a bottleneck for reaching that next performance level one is striving for.
Last but not least, part 4 introduced measurement and time pressure. Since writing part 4, I learned about the AMG Sidekick which is a budget friendly shot timer designed for dry fire practice that I’ve become quite fond of. While I have no plans of updating part 4 with this new doodad, I am going to talk about how I set it up for working the drill in this post and I’ll likely do the same for future posts in this series. The Sidekick’s configuration can be adapted to physical timers and app timers that have similar functionality.
What are Controlled Pairs?
I’m not sure who coined the term: controlled pairs. I think I first heard the term from Ben Stoeger when I attended his Practical Shooting Fundamentals. At any rate, controlled pairs are a pair of shots fired in succession as quickly as possible at a target in a controlled manner resulting in two acceptable hits.
How do we control the pair? That’s an excellent question. I often think of a phrase that John Correia of Active Self Protection uses in his video which goes something along the lines of, “Grip is the master, sights set the pace, and trigger is the servant.” In other words, it’s a combination of applying the core fundamentals we have been working on: grip, vision, trigger.
So the process of firing a controlled pair goes something like this:
- Establish a good grip
- Aim with the level of focus appropriate for the difficulty of the target
- Press the trigger straight to the rear
- Repeat steps 2 and 3
I think it’s worth pointing out that the pair component of a controlled pair represents the number of successive shots and it happens to be the lowest number of shots that can be fired in succession. It’s somewhat arbitrary because one could fire a controlled triple. A Bill drill, which consists of six shots to the body, in essence is nothing more than a draw followed by a controlled sextuple.
It’s also worth noting that as the number of controlled shots increases, the importance of grip durability increases because recoil has a way of wearing out the grip. This is something that will be important to be aware of in live fire sessions when verifying the progress made from working controlled tuples in dry fire.
Controlled Pair Drill: Dry Fire Version
A controlled pair drill can be set up a number of different ways for dry fire. How the drill is set up will inform the details of focus for the drill and the par times used. Unfortunately, there is no practical way I can think of to cover all of the possible variations. The best I can offer at this moment is a set up that I think will benefit the majority of the audience the most.

Let’s start by hanging up a 1/3 scale USPSA or IDPA target in our Dry Fire Dojo where we can stand about 2.5 yards away from it. This will simulate a distance of about 7.5 Yards.
Once it’s set up, follow the dry fire protocols to get our head right and create a safe dry fire practice environment before performing the following drill which will start with the cleared pistol from the holster:
- Draw
- Aim (at the body)
- Press (the trigger)
- Aim (at the body)
- Press (the trigger)
- Reset (and repeat as many times as desired)
There is a lot more going on here than what we have seen in the previous drills. So let’s go through it in detail before getting into time goals.
Steps 1 to 3 – Draw to First Hit
We saw steps one through three in part 4 of this series. Because of that, we could simplify the drill as:
- Draw to first hit
- Aim
- Press (the trigger)
- Reset (and repeat as many times as desired)
However, I’m not a fan of this simplification because I think there is a value in shifting our focus on each step.
For example, on step one I will want to focus on building a consistent durable grip during the draw and finishing with a consistent presentation as I move into step two.
How refined the aim has to be in step two is going to depend on one’s individual skill level. Those with sufficient skill will know exactly what this means. Those who don’t know what that means will probably want to do the following:
- Those using a pistol mounted optic will want to visually focus on a small spot in the center of the A-zone and break the trigger as the dot arrives at that spot. Be aware of where the dot is when the trigger breaks. Also be aware of what the visual focus is doing which should remain on the target and not shift to the dot.
- Those using iron sights will want to visually focus on a small spot in the center of the A-zone and start shifting their visual focus towards the front sight when sights come into their peripheral vision. The trigger should break as soon as one is aware of a front sight focus with an acceptable sight picture. It probably shouldn’t be a hard front sight focus. Be aware of where the front sight is and the alignment with the rear notch when the trigger breaks.
If the dot or front sight isn’t where it needs to be when the trigger breaks, then there is something going on with the grip or the trigger press that probably needs some correction. I’d start looking at the grip and making sure there is sufficient support hand pressure while building it. Consider shifting the mental focus to feeling the trigger being pressed straight to the rear with a gradual increase of pressure.
Steps 4 and 5 – The Second Shot
This is where things get weird. At least, they got weird for me when I started working multiple trigger presses in dry fire. What subsequent trigger presses will feel like are entirely dependent on the firearm used.
Striker fired pistols will have a dead trigger for the second press. This can be mitigated with products like DryFireMag assuming you have a gun which they support. In some cases, like with Glocks, the trigger will remain in its rearmost position for second presses. Some folks will use the zip tie hack where a zip tie is placed down the barrel with the other end being placed between the barrel and breech face which prevents the gun from going into battery. This allows for the trigger to reset, but you lose the wall and the break on the first shot. While these mitigations might be helpful, they aren’t necessary in my opinion.
Single-action pistols will also have a dead trigger. However, they do reset and provide a full range of motion for subsequent shots without a wall and break.
Double-action pistols can be let out the whole way which gives us a full double action trigger press every time. Optionally, we can limit the reset and opt for a lighter and shorter subsequent trigger press with no wall or break.
This is just what it is because guns were designed to fire live ammunition. Dry fire is just something we do to practice and get better.
While subsequent trigger presses will not be the same in dry fire as they are in live fire without using a dry fire aid that resets the trigger or cycles the gun for us, it is not consequential. One will get a lot out of dry fire practice by simply moving the trigger finger as one would to allow the trigger to reset and pressing it again with approximately the same pressure one would apply for a subsequent shot. It just takes a little getting used to.
Now that we’ve covered that, we can return to the drill.
After the first shot breaks, our focus should shift back to aiming.
For those with a pistol mounted optic, that means being aware of keeping the visual focus on a small spot inside the A-zone and breaking the pressing the trigger as the dot arrives on that spot. Once again, we should remain aware of where the dot is in relation to the target the moment that we finish applying full pressure to the trigger for the “second shot”.
Those with iron sights will want to shift their visual focus back to that small spot inside the A-zone which will adjust the alignment of the pistol to the target and then start to shift the visual focus back to the front sight while looking to finish applying full pressure to the trigger as soon as they are aware of a front sight focus with an acceptable alignment. Once again, attempt to be aware of the front sight’s location on the target and relationship with the rear sight notch at the instant full pressure is applied.
Step 6 – The Reset
Every return to the holster should be deliberate and careful. Rushing this process in dry fire can result in developing a dangerous bad habit that can have dire consequences when working with a loaded pistol. Give yourself enough time to charge the slide, apply manual safeties as needed, and carefully, reluctantly return the pistol to the holster.
Par Times
It’s not a bad idea to run this drill without a time limit first to get the feel for it. Especially, if one hasn’t attempted multiple shot dry fire drills before which can be a little awkward at first. No time limit drills are also a fantastic opportunity to get familiar with the drill steps and figure out the things they need to focus on.
After that we can set up the timer and start working against some time goals.
The time limits I will suggest are basically the same time limits we say in part 4 for the “draw to first shot” plus a split time for the second shot. The split time is the time it takes to do the things that need doing between subsequent shots on the same target. Those things are aiming, resetting and pressing the trigger.
| Difficulty | Par Time | Notes |
|---|---|---|
| Easy | 5 | This goal combines the 4 second draw to first shot and adds a full second for the second shot |
| Normal | 2.5 | This goal combines the 2 second draw to first shot and adds a half second for the second shot |
| Hard | 1.5 | This goal combines the 1.2 second draw to first shot and adds 0.3 seconds for the second shot |
| Expert | 1.1 | This goal combines the 0.9 second draw to first shot and adds 0.2 seconds for the second shot |
Timer Configuration
I’m going to try to keep this short since this post is already getting unwieldy and we still have to cover live fire verification.
It probably goes without saying that the par time should be configured to one of the suggested goals listed above. Again, I like to start with a time I know I can hit on demand and work that a few times before reducing the allotted time that puts me in, what Gabe White calls, “pushing mode”. I want to push until things start falling apart so I can figure out where to place my focus for improvement. And then finish out the drill with a few reps using time limits I know I can hit correctly. This is usually somewhere between the initial time limit and the pushing time limit.

For those using a timer that has a repeat function, like the AMG Sidekick, I will suggest setting this up to repeat no more than five to ten times. The reset time, which is the time between the time limit of the previous string and before the go signal of the next string should be sufficient to complete the reset step without rushing and allow enough time to make mental adjustments for the next string. A comfortable time span for me is about 8 seconds of reset time and your mileage will most likely vary. Feel free to make adjustments as needed to help build good return to the holster habits and get your head right for a good effective practice drill repetition.
Here is a summary of my settings on the AMG Sidekick:
- Par time: 1.5 seconds
- Delayed start: Randomized between 2 to 4 seconds
- Repeat: 5 with 8 second reset
Controlled Pair Drill: Live Fire Verification Version
The live fire verification for controlled pairs doesn’t have to be complicated. Load a few mags. The more the merrier. Go to the range. Set up a target with an 8″ target area at a distance of seven yards and do the following:
- Adjust your grip
- Aim
- Press
- Aim
- Press
- Repeat until empty
- Check the target
We can use the target in combination to what we observed through mindful awareness during the drill.
Give yourself a pat on the back if all of the hits are in the 8″ target area. Chances are this result indicates your core fundamentals are good. However, you can probably go faster. Try aiming a little less. For dot users, this means reacting to a flash or streak of color instead of a dot arriving on the target. For iron sight users, this might mean keeping visual focus on the trigger and looking through the sights (often called a flash sight picture).

If hits landed outside of the target area, then a little diagnosis is required. Shots hitting above the target point of aim indicate a problem with visual focus is likely. Shots hitting below the point of aim indicate possible active recoil management which means we are actively pushing the pistol down to get it to return faster rather than allowing it to return to the point of aim naturally. Shots in the direction of the support side indicate we are putting too much input into the gun when pressing the trigger which means we may want to increase support hand pressure in our grip or work on pressing the trigger straight to the rear.
Feel free to set up another target and continue work on these things in live fire as resources allow.
At the end of the session, make a note on the problem areas and focus on improving those things in the next dry fire session.
Closing Thoughts
Being able to string together multiple shots in rapid succession that result in acceptable hits is important for self defense and competition contexts. The key to being able to do that lies in having well developed handgun marksmanship core fundamentals which are grip, vision, and trigger control. Controlled pairs are a good mechanism for improving these fundamentals. We can also add additional shots to the drills to test the limits of grip durability.
Go forth and try these things and let me know how it goes.


One response to “Dry Fire Part 5: Controlled Pairs”
[…] Dry Fire Part 5 Controlled Pairs (Uncle Zo) […]