
In the first installment of the Getting Started with Long Range Shooting series, we covered fundamental skills. I’m sure several readers were disappointed that I didn’t dive into talking about cartridges, optics, and weapons, which are generally considered to be the fun things to talk about when it comes to long range shooting. While I’m going to get into some tools in this post, I expect the same readers will also be disappointed because I still won’t be getting into the cartridges, optics, and weapons. I have a reason for this. Whether or not my reason is good or bad is subjective. Nevertheless, let’s begin.
In my opinion, there are three limiting factors to how far a shooter can engage a target. The limiting factors are: ballistics, weapons system, and target size. I expect more experienced long distance shooters to correct my opinion, but at my current experience level these are the three things I concern myself with the most. The fundamentals I covered in the last installment are part of the weapon system concern because ultimately we are part of the weapon system. The tools of the trade and math are necessary to develop a shooting solution and are most closely related to the ballistics variable of the equation.
A good shooting solution is essential to making an acceptable hit at extended ranges. It’s also the first step in the lifecycle of a hit. At a high level the life cycle goes like this:
- Develop the shooting solution
- Dial the solution in (or apply the appropriate holdovers)
- Take the shot
- Wait (and cycle the action to prepare for the a follow up shot)
- Confirm the hit
Developing a shooting solution has its own life cycle. That life cycle looks like this:
- Note the static ballistic variables
- Note the relatively static atmospheric conditions (altitude, temperature, barometric pressure, relative humidity, latitude, and azimuth)
- Positively identify the target
- Range the target
- Make a wind call
- Calculate or look up the drop and drift corrections
Let’s break down those steps a little and look at some of the tools of the trade that help with each of the steps.
Ballistic Variables
There are a handful of ballistic variables that are necessary for arriving at an accurate solution. These values are generally static for a weapon system and cartridge load and only need to be updated when using a different weapon system or different cartridge. Modern ballistic calculators will save firearm and ammo profiles so the values of these variables can be set quickly. These variables are projectile’s ballistic coefficient (BC for short), projectile’s weight, projectile’s initial velocity, the rifle’s zero range, and the rifle’s sight height. Let’s explore them individually.
The projectile’s ballistic coefficient (BC for short), sometimes called the drag coefficient, is a numerical value that represents the projectile’s aerodynamic characteristics. The BC value is commonly found on the ammo box (if it’s not it can also be found on the ammo manufacturer’s website). If the cartridge loads are custom hand loads, then the BC can be found on the projectile packaging (or the projectile manufacturer’s website). There are a couple of different drag functions used to calculate a BC. The most common is the G1 drag function. If the documentation doesn’t provide a drag function designation, then we are safe to assume the BC is a G1 value. The other drag function most commonly used for match grade ammo and projectiles is the G7 function (the G1 one values are usually also provided and labeled). I suggest using the G7 BC over the G1 BC when G7 BC is provided by the ammo (or projectile) manufacturers unless one is using a ballistic calculator that doesn’t support G7 values (which is pretty rare nowadays).
Like the projectile’s BC value, the projectile’s weight is commonly found on the ammunition’s (or projectile) packaging and the manufacturer’s website.
The projectile’s initial velocity is another story. While it is commonly found on the ammunition’s packaging and the manufacturer’s website, it’s important to note that the initial velocity provided rarely matches the actual initial velocity of our rifles. I’ll refer you to this other post where I covered advertised muzzle velocities in detail for more information. I highly recommend that every long distance shooter pick up their own chronograph (or make friends with somebody who has one) and measure their own velocities. My favorite chronograph is the LabRadar Doppler Chronograph (there are some more affordable options which I’ve covered in the linked muzzle velocity article).
The rifle’s zero range is pretty self explanatory. While there are a plethora of different zero ranges and applications for them, I recommend using and personally use a 100 yard zero for precision long distance shooting. The reasons for this will become more apparent when we begin discussions about optics and their features. Other zero ranges will work, but have a different learning curve.
The rifle’s sight height is measured from the center of the bore to the center of scope. The measurement method will depend on the rifle. The easiest method I’ve found to work on a bolt action rifle is to open the bolt and use a caliper to measure from the bottom of the bolt to the top of the scope’s ocular lens housing. Then measure the diameter of the ocular lens housing and the bolt. Divide the diameters by two to get their respective radiuses. Finally, subtract the two radiuses from the original height measurement. I’ve never attempted to precisely measure sight height on anything other than a bolt action rifle, but I have estimated (perhaps incorrectly) the sight height on an AR-15 or AR-10 by taking the mount or scope ring height and adding an inch.
Atmospheric Conditions
Let’s start with easy mode, the smart phone. The smart phone most of us carry every day has most of the sensors needed to gather many of the atmospheric conditions needed for developing a shooting solution. Take those sensors, add a data connection, and a ballistic calculator app (I use the Shooter app) and we are all set. In fact, this is good enough for most folks to get started with and the most economical solution given one has a smartphone and spends around $10 on a ballistic calculator app.
The next tool to consider while keeping things in easy mode is picking up a weather meter with a built in ballistics calculator. A good candidate for this is a Kestrel 5700 series device. There are a few variants of this device with MSRP ranging from $400 to $700. The LiNK enabled variants can be paired with a smartphone to be used in conjunction with Kestrel’s ballistic calculator app (or another ballistic calculator app). A benefit of going this route is removal of the dependency on a data connection. While one might be tempted to save some money and go with the 2700 series Kestrel, I suggest staying away from it since the ballistic calculator doesn’t include advanced corrections (aerodynamic cross wind jump, Coriolis, and spin drift) and calculations are limited to a maximum of 875 yards. I suggest spending the extra money now and go with the 5700 Elite variant (especially if one gets serious about long distance shooting).
Leaving easy mode land, here are few different tool suggestions that can be acquired and used to gather atmospheric conditions. The decision to with digital or analog variants of the tools is entirely up to you. Keep in mind that the shooting solution is limited by the precision of it’s inputs. The “garbage in, garbage out” rule applies. The more precise the inputs are the, the more precise the shooting solution will be. The importance of precise readings increases as the distance to the target increases.
- Altitude: Altimeter for precise readings (a topographical map on the area can also be used in conjunction with a lensatic compass for rough estimates)
- Temperature: Thermometer
- Barometric pressure: Barometer
- Relative humidity: Hygrometer
- Latitude: GPS for precise reading (a map of the area can also be used in conjunction with a lensatic compass for rough estimates)
- Azimuth: Lensatic compass
In summary, I suggest using the smart phone most of us already have in conjunction with a ballistic calculator app to get started. If data connectivity is an issue or one is getting more serious about long range shooting, then I suggest investing in a Kestrel 5700 Elite. The other tools aren’t a bad idea as a back up and probably resonate well preparedness minded folks, but keep in mind they add bulk and add steps to collecting the atmospheric condition data. Being completely honest, I stick with the easy mode.
Positive Target Identification
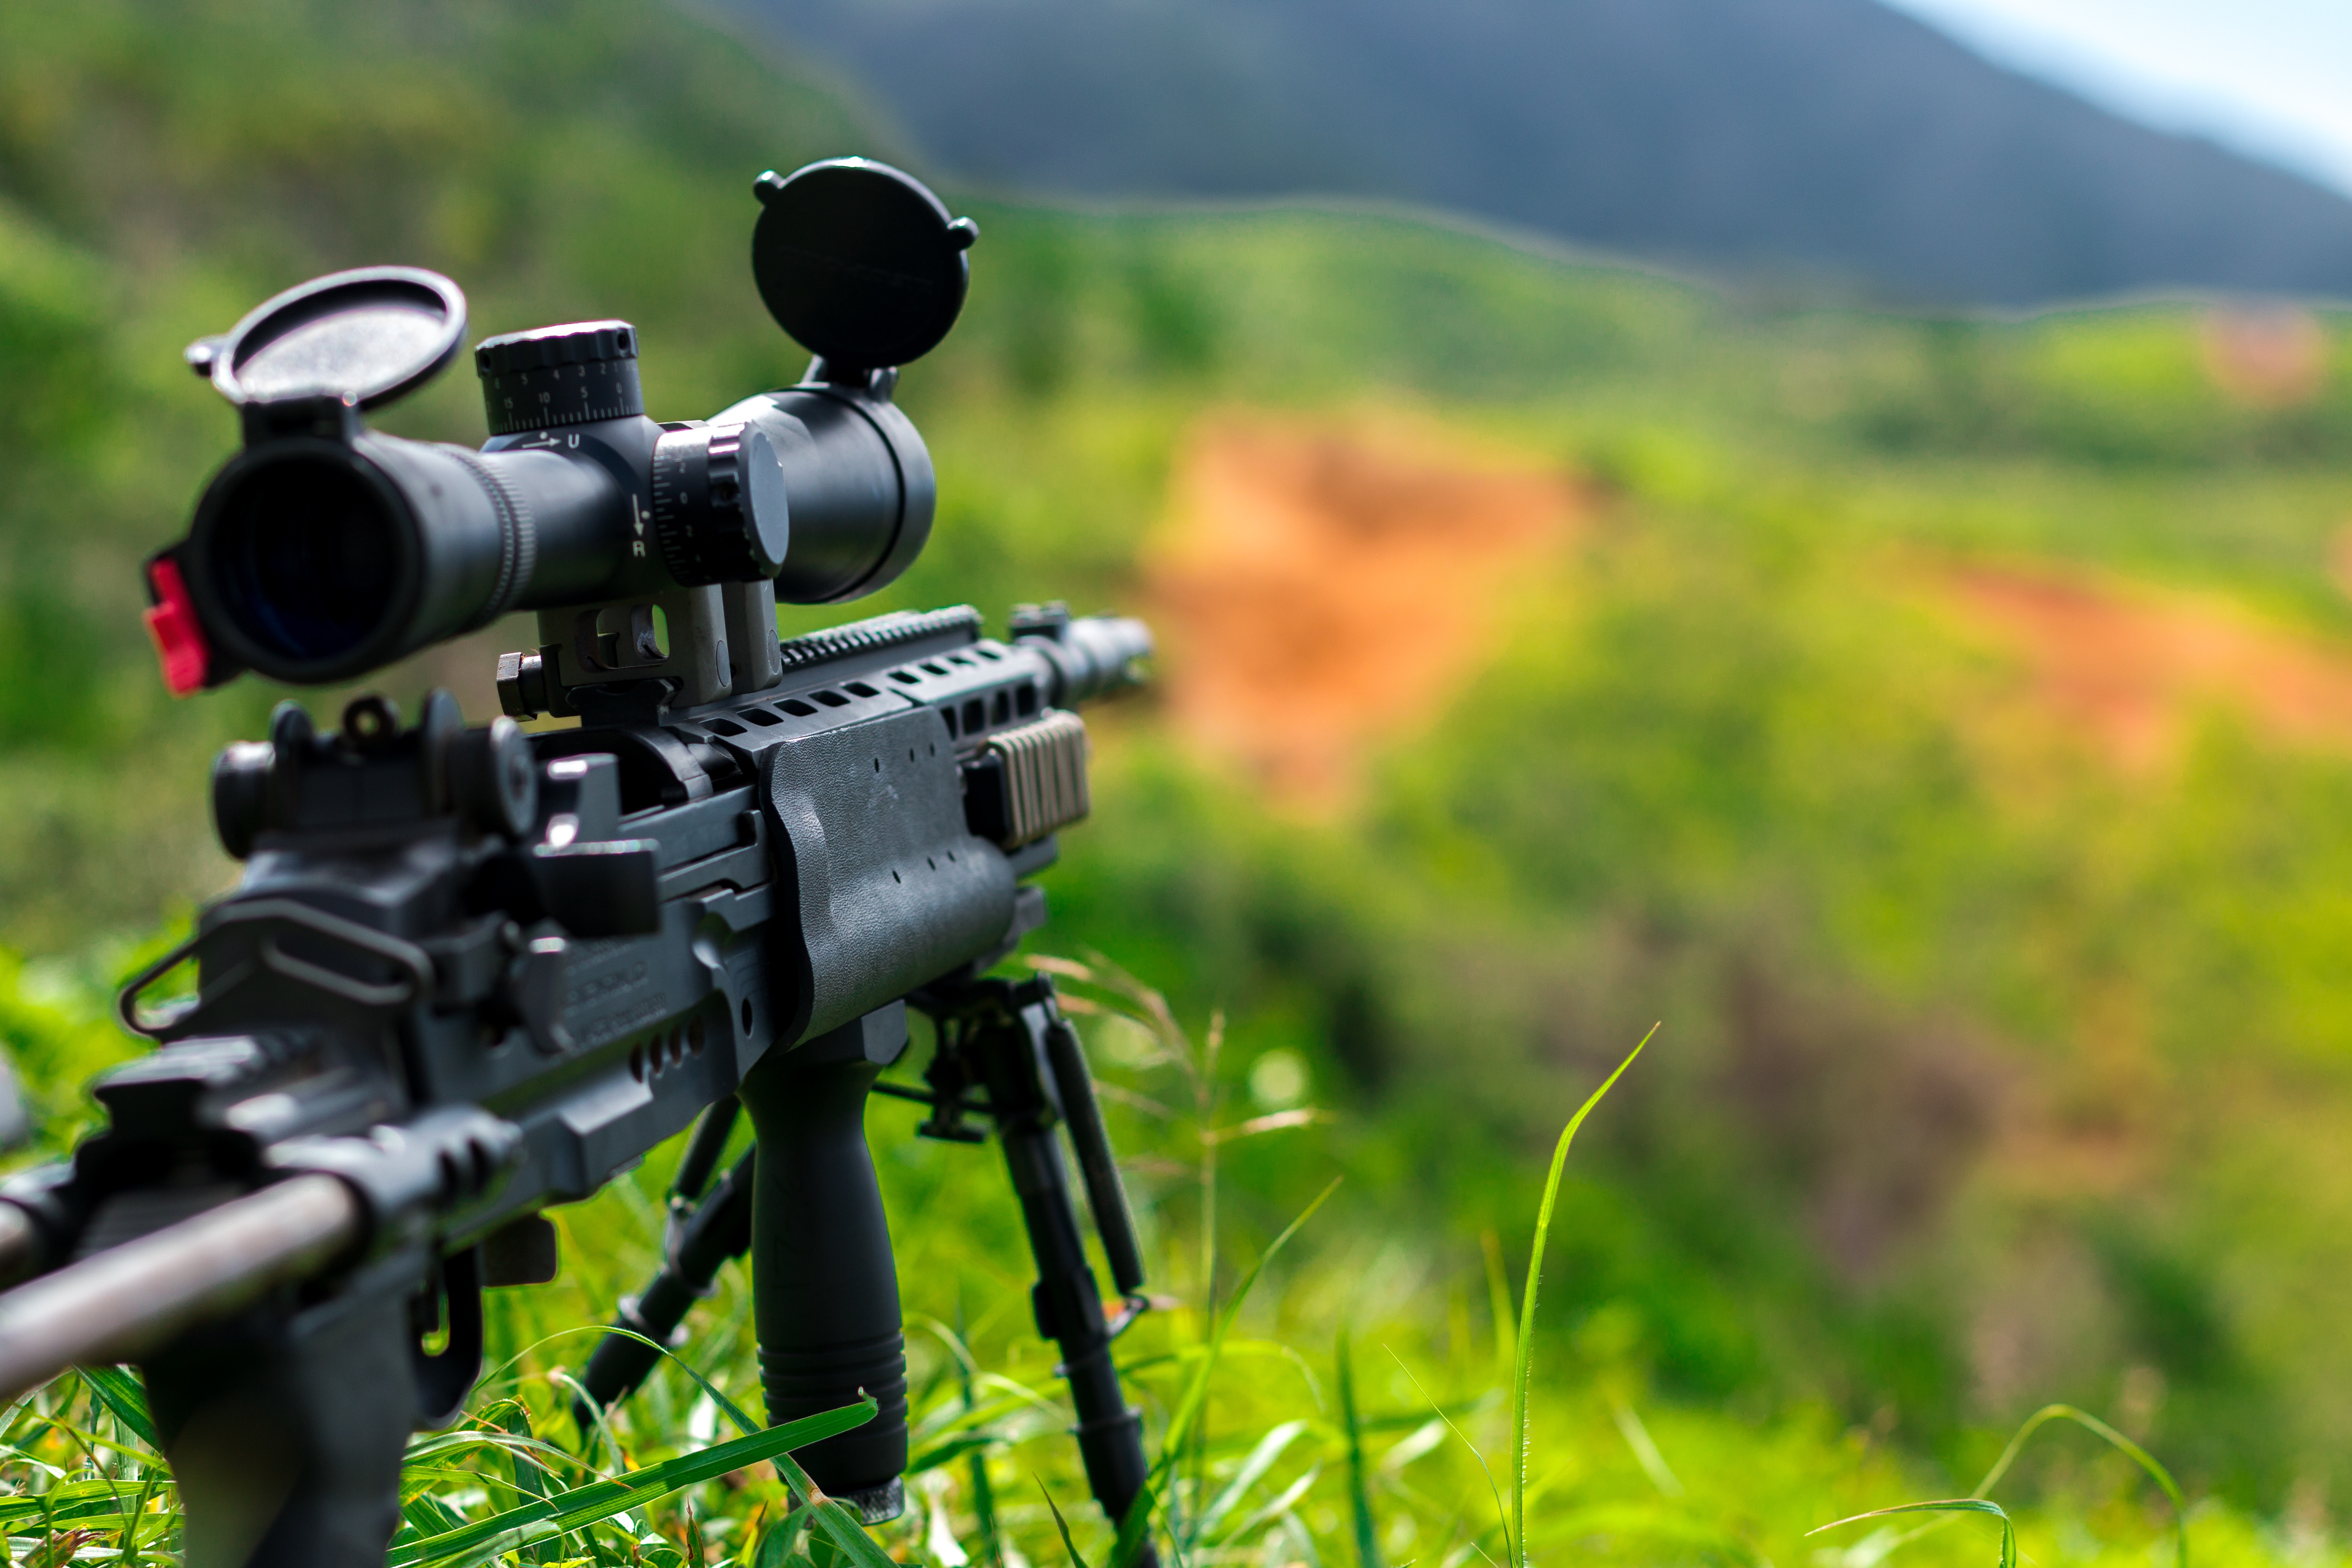
Positive target identification (PID for short) is important for a lot of reasons (beyond the scope of this post), especially when the target isn’t an inanimate object. At extended distances, quality optics are the tools of the trade used for PID. I’m specifically talking about spotting scopes and rifle scopes with high levels of magnification. Binoculars can also be used (in fact I currently rely on a pair of range finding binoculars for my long distance shooting range sessions), but they are limited in their magnification when compared the rifle scopes and spotting scopes.
I’m not going to get into any more detail on optics here as I plan on covering them in more detail in the next installment of this series. When it comes to the shooting solution, one has to be sure they will be ranging the correct target in the next step.
Range the Target
Easy mode? A laser range finder. It really doesn’t get much easier than pointing a range finder at the correctly positively identified target and clicking a button. While I currently rely on a set first generation Vortex Optics Fury HD rangefinding binoculars, I’ve been considering upgrading it to a newer generation of the same product or switching to a dedicated range finder (simply because of its lower price point) due to some of the distance limitations of the first generation.
While I’m curious about the newest variant of the Fury HD binoculars, the Fury HD 5000 AB, because they include a built in ballistics calculator that is compatible with the Kestrel (and some Garmin devices), I’m not too keen on the extra $300-$400 price tag and I’m still not sold trusting a wind meter reading for windage corrections (this may change in the future). However given the $1600 MSRP (about $1200 street price) of the Fury HD 5000, I may end up going with the ballistic calculator variant if I end up going with the upgrade route. I don’t hesitate recommending these range finding binoculars, but do suggest staying away from the first generation, the Fury HD (without the 5000) as they are significantly limited in the maximum range reading department compared to the newer generation ones.
The more economical option I am considering and suggest folks look into is a monocular range finder like the Vortex Optics Razor HD 4000 which has a street price of about $500. In addition to the lower price point, it is also smaller and lighter which is a welcome characteristic in long distance hunting applications. The downside to going this route is that monocular rangefinders tend to have a lower magnification which can make accurately ranging smaller targets at extended distances a bit more challenging.
Both options are great. In both cases, one might consider also using a dedicated tripod to stabilize the range finder which significantly increased the ease of getting accurate range readings.
Leaving easy mode behind, we get into using the reticle to range the targets. The caveat of this technique is three fold. First, we have to know the size of the target we are ranging. Second, is realize this technique is an estimation technique that will yield a less accurate range than using a rangefinder. Finally, the reticle must include indicators that allow us to measure the target in either MRAD or MOA.
To use this technique we measure the known size of a dimension of the target in MRAD and MOA. Then we take that measurement and do a little math to estimate the distance to the target. It’s critical to note that the scope used is set to the magnification setting that the reticle is designed for if not using a first focal plane reticle, in most cases this is usually the highest magnification setting.
For example, let’s say we are engaging a standard size IDPA silhouette target and therefore we know the height of the target is approximately 30″ tall. Using the reticle hash marks we measure the height of the target in MRAD. Let’s assume that reading is 1.5 MRAD. Then we take that information, plug it into the correct reticle ranging formula (shown below) and get a distance of 555.4 yards.

Using the same example, let’s assume we are using MOA based reticle instead and the height of the target reads 5 MOA. Then we can plug the height of the target and the 5 MOA reading into the formula below and get a distance of 573 yards.

Don’t want to do the math, but don’t have the available funds to pick up a range finder? Then I suggest picking up a Mildot Master (which won’t help if using an MOA based reticle).
Whether we are using the reticle to estimate the distance or a range finder, I highly suggest applying the “measure twice, cut once” rule. We want to be highly confident in the distance to the target before we take a shot.
One last thing, we haven’t touched on the topic of shooting angles. A good range finder can provide the horizontal dimension component of a distance reading instead of the line of sight distance provided by the reticle estimation method. We will either need the line of sight distance and shooting angle as inputs to the shooting solution or just the horizontal dimension component of the distance to the target. I’ll revisit this topic in a future post in more detail. For now, remember that the shooting angle matters.
Make a Wind Call
Reading the wind is more of an art that a science. It’s going to take a lot of practice to get good at this. I could be wrong, but I believe bad wind calls are responsible for more missed shots than any other input to the shooting solution.
There are some tools that we can use to help. But I’ve found these tools to help me determine whether my wind reading is reasonable or way off base. Let’s look at some of these.
Starting with the good ole smartphone. If only using a smartphone, then we likely only have the wind speed and direction from a local weather station. The problem with this is that this reading is rarely the same crosswind speed the projectile will face when heading down range. As such, it usually only helps to check the sanity of our wind reading. For example, if we are estimating a crosswind of 10 mph and the local weather station says the current wind speed is 5 mph, then our wind reading is most likely wrong.
The Kestrel is a big improvement over the weather station reading because one can take a local wind reading. However, it isn’t a silver bullet for wind readings either. The problem with it is that we only get the wind reading of our shooting position and the wind reading down range. This is less of an issue if the shooting position is out in the open and the terrain down range is relatively uniform with the terrain at the shooting position. However, the nice shade and a wind break at the firing line found at quite a few shooting ranges will yield a very different wind reading in the Kestrel wind meter than it would otherwise yield down range. Then there are terrains that provide areas of heavy brush, hills, or partial berms along the sides which the wind meter will not take into account.
So while those sources of information help, we still have to rely on our own ability to read the wind down range. We do this by observing the movement of vegetation, wind flags (when available), or the mirage down range. I wish I knew a method to make reading wind with vegetation or wind flags easy, but the problem is that the movement of a wind flag or particular vegetation moves in the wind depends on their size, weight, and composition. Best advice I can give you is to pay attention to wind flags and vegetation as they both help determine the wind direction (wind direction isn’t always easy to determine from the mirage which I’ll talk a little about shortly) and overtime one may develop an eye for estimating wind speed from becoming intimately familiar with their movement in the wind (which is only helpful when we find ourselves in familiar terrain).
Heat waves rising from the ground create a mirage effect that can be used to estimate wind speeds and wind direction (unless under a heavy wind). How visible the mirage is depends on the difference in temperature between the ground and air. The larger the difference the more visible it is. But even when the temperature difference is small, a mirage will be present. Looking through a quality scope makes it much easier for eyes to perceive the mirage since the lenses in the scope can amplify the visibility of the light distortion created by the heat waves. Using a lower magnification setting (allowing for a wider field of view through the scope) also helps. When there is little to no wind, the waves will appear to be rising straight up. A slight 3 to 5 mph breeze will make the waves move about 30º in the direction the wind is blowing. A steady 7 to 10 mph wind will make the waves move about 60º. Strong winds of 12 mph or more will cause the waves to move horizontally to the ground. It’s important to know that this method of wind reading is actually estimating the crosswind perpendicular to the trajectory of the projectile path to the target. As such, a visible vertical mirage suggesting no crosswind is possible even a steady or even strong dead on head wind or tail wind is present. When it comes to the shooting solution, the crosswind speed is what we are mostly concerned with.
Arriving at the Shooting Solution
Keeping the theme of starting with easy mode on, the simplest solution is to plug all of the data collected into the shooting calculator and let the calculator tell us what the elevation and windage corrections are.

Easy mode off involves a lot of math which I’m not going to get into because I’ve never gone that route. I’m sure I’ll write another post on that topic when I get around to actually learning the math.
I mentioned that an alternative to calculating the shooting solution is looking it up. This requires recording the shooting solution and results over time so that can be compiled into quick reference cards. This is referred to as DOPE, or data on previous engagements. One can make their own, or one can pick up some pre-formatted log books and reference cards. Getting in the habit of keeping a shooting log book is a good idea so that DOPE reference cards can be made later.
In closing, I hope this installment has provided some insight into how one can go about developing a shooting solution. For each of the steps involved in developing a shooting solution, there are some tools available that help put the process into easy mode. I strongly suggest making an investment in the tools here early as they will be reused as weapon systems and cartridge selection changes over time.
Here is a prioritized tool/shopping list to refer to:
- Smartphone ballistic calculator app
- Chronograph
- Range finder
- DOPE log book and reference cards
- Weather/wind meter
Hope this helps y’all in your long distance shooting journey. I’m looking forward to writing about some of the more exciting gear that I’m certain a lot of you are looking forward to reading about.


2 responses to “Getting Started with Long Range Shooting 2: Developing the Shooting Solution”
[…] of the Getting Started with Long Range Shooting series, we’ve covered fundamental skills, developing a shooting solution, and scope selection. It’s now time to take a look at cartridge […]
[…] of the Getting Started with Long Range Shooting series, we’ve covered fundamental skills and developing a shooting solution. As predicted, several readers have expressed their desire to get into weapon system component […]