
I often get asked for tips on zeroing a pistol mounted red dot sight. While there are several video tutorials available on the internet, I figured toss another out there for search engines to index while also maybe helping folks out.
The process of zeroing an optic is simple and pretty much the same regardless of type of firearm the optic is mounted to. Select a distance for the zero. Using the same point of aim on the target at the desired distance, shoot a group. Find the center of the group noting the difference between the point of aim and point of impact. If the point of aim and impact aren’t the same, then make adjustments to the optic, shoot another group, and repeat. To simplify: shoot, measure, adjust, repeat. Even though the process isn’t complex, it isn’t necessarily easy. Especially with a pistol.
Not to worry, I’ve got a few tips that I’ve picked up along the way that I’ll share as we walk through the process.
Tip #1: Zero the optic at 10 yards.
Or at least, start with a 10 yard zero. One of the nuggets of knowledge I remember from when I took the Red Dot Essentials course at KR Training about three years ago, is that the zero distance doesn’t really matter. There are a few schools of thought in terms of what the optimal distance is which is either 10, 15 or 25 yards depending on which school of thought one subscribes to. Me? I subscribe to the 25 yard zero school of thought, but again it doesn’t matter. What matters is that you have a zero and you know your holds. And don’t worry about the holds right now, those will come with time after a bit of practice. The reason that I suggest starting with a 10 yard zero is that it’s easier to achieve than zeros at longer distances and it’s on the way to 15 and 25 yards. In fact, when I started dipping my toes into pistol mounted dots I started with a 10 yard zero because the longer zeros required a higher level of pistol shooting skill than I had at the time. I also used that zero successfully for a long time.
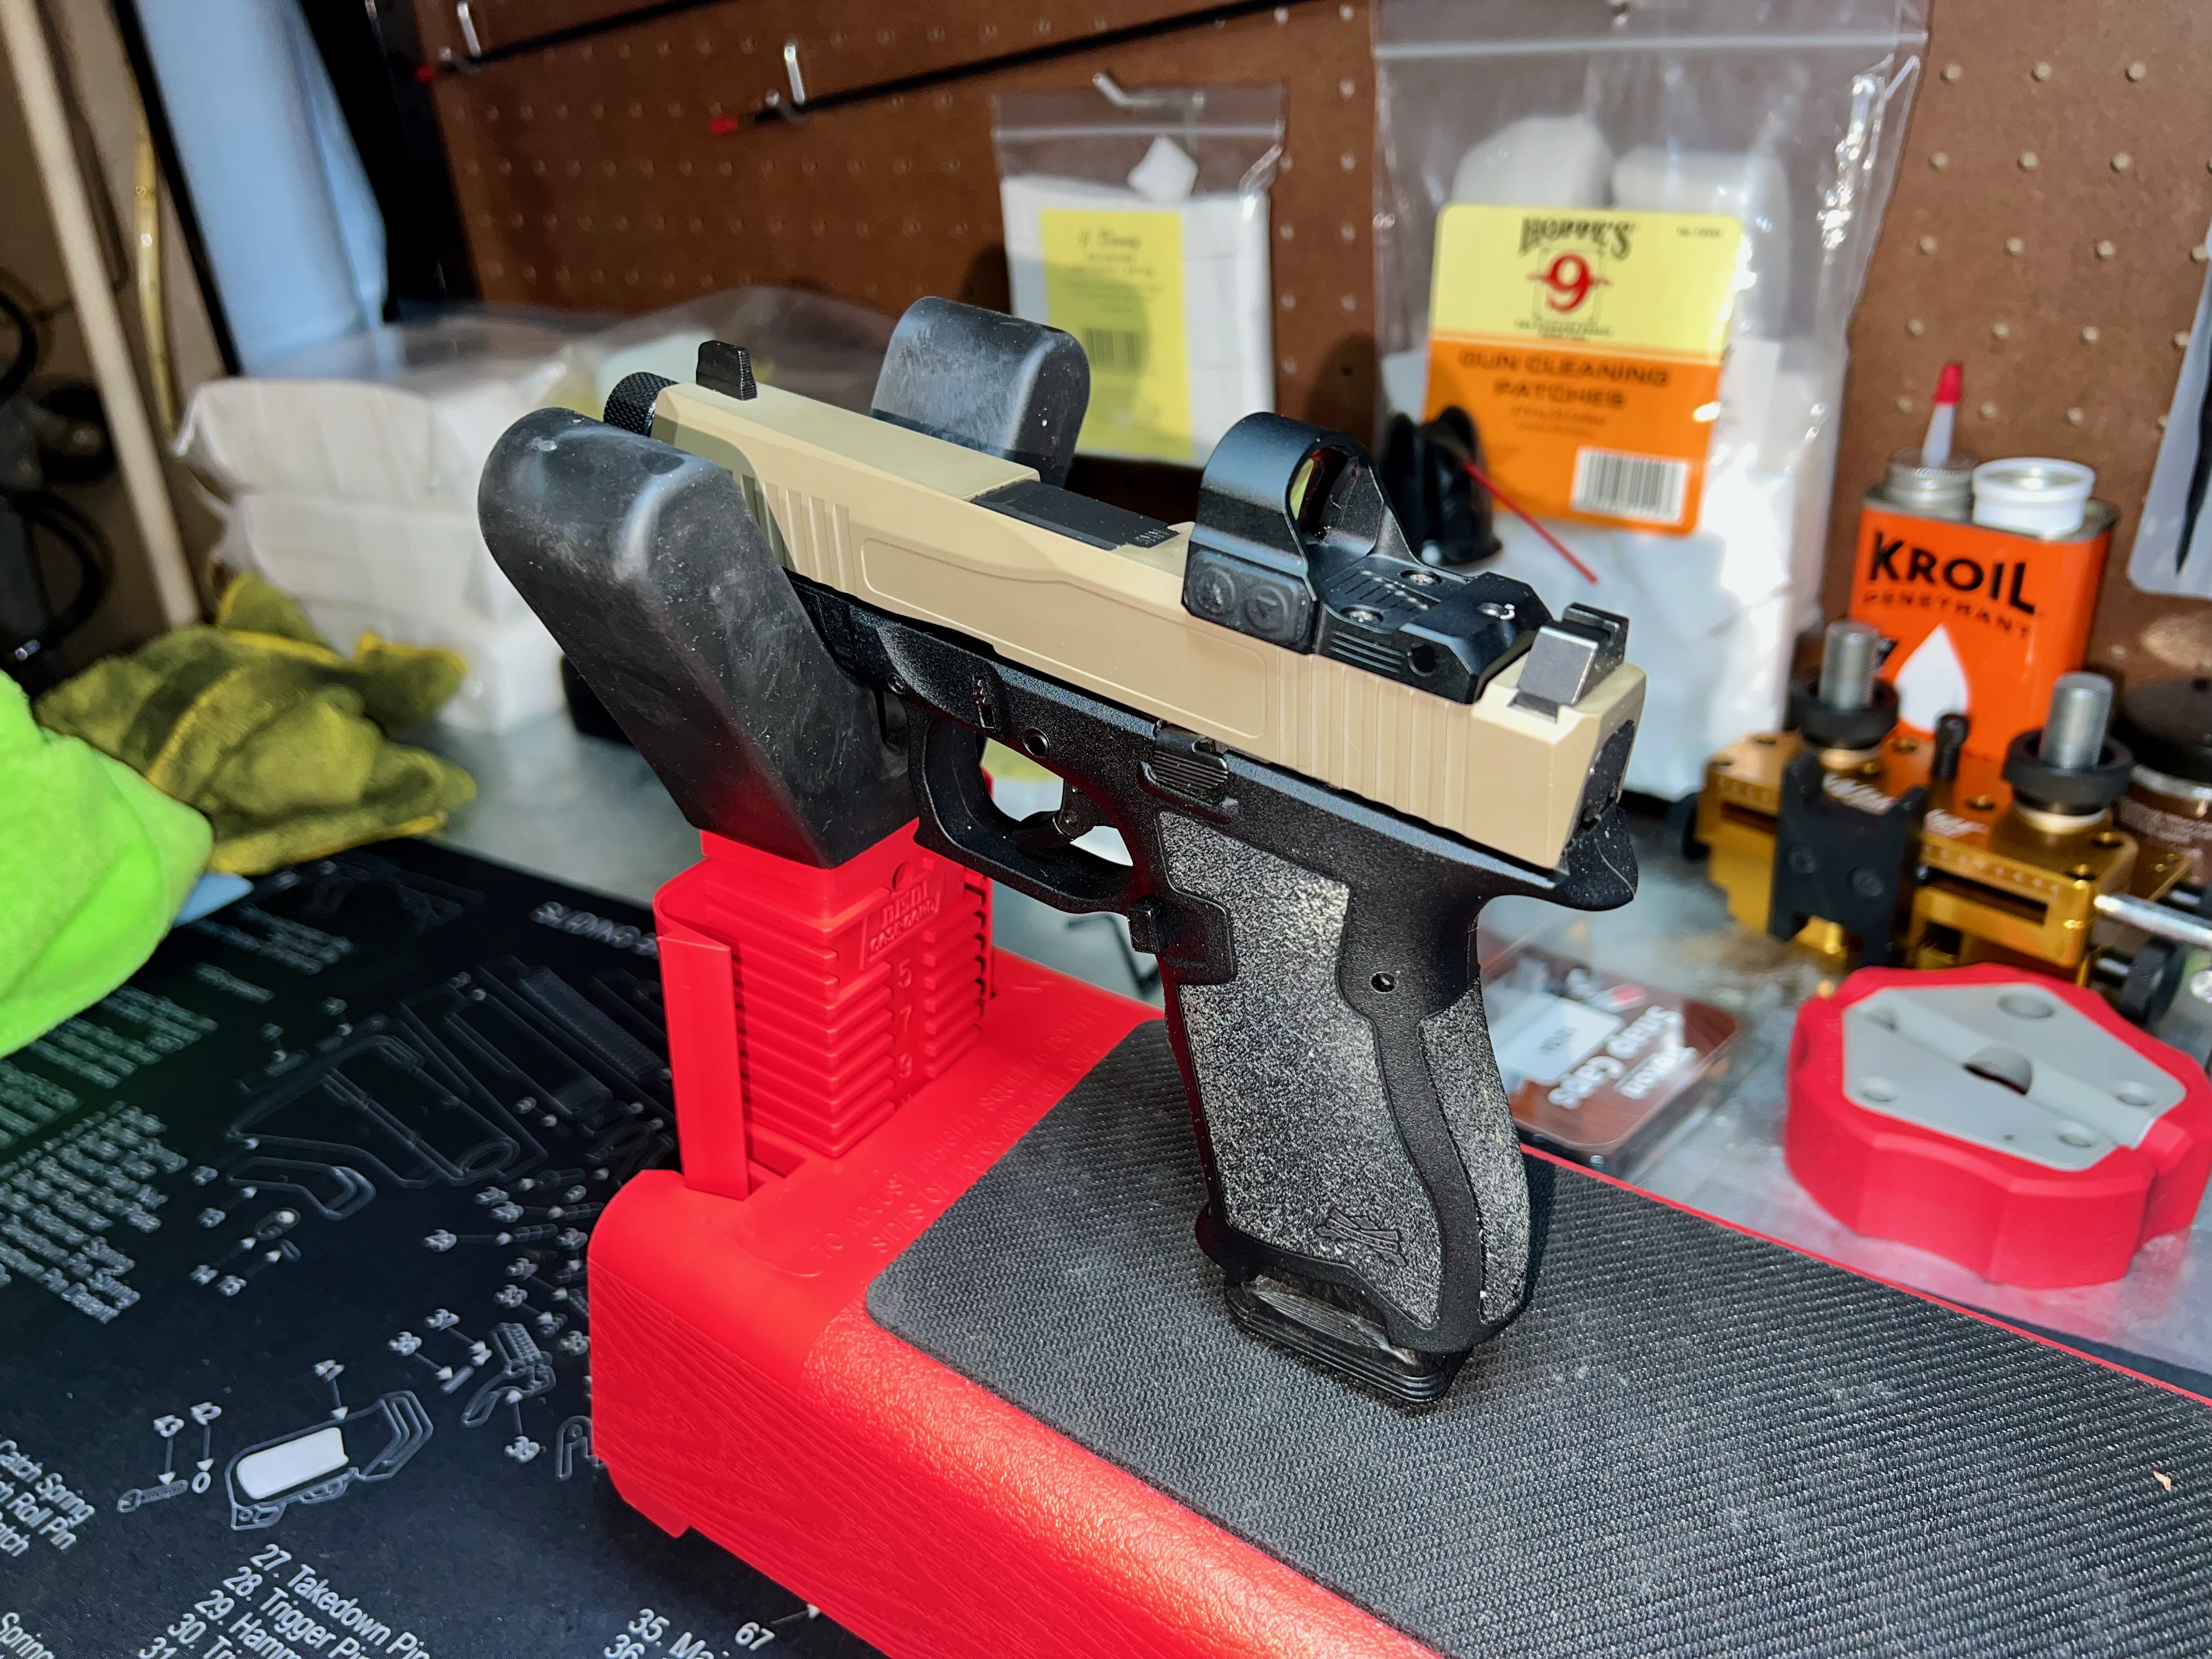
Tip #2: Get a pistol rest.
Most folks aren’t very good at shooting a pistol. I’m not trying to be harsh, but it’s the truth. Perhaps you are better than most, but even then get a pistol rest. It doesn’t have to be an expensive one. I use an ultra basic MTM plastic pistol rest that runs about $20. That small investment ends up saving me a ton of time and a lot of frustration because it takes most of the human error out of the equation. It does so by providing a sturdy surface to rest the front of the pistol on which greatly reduces the disturbance of the sighting system when taking a shot. That means less chance of shooting low and left (or low and right for left handed folks) while helping one shoot a tighter group. Don’t think you need it? Cool, don’t get one. However, you may want to rethink that decision if putting holes into a one inch square at 5 yards consistently isn’t a walk in the park.

Tip #3: Make sure you have all the tools you need to adjust the optic before heading out to the range.
I can tell you from first hand experience that it is incredibly frustrating to find yourself at the firing line ready to make an adjustment to an optic only to learn that the right tools weren’t in the range bag. This is a no brainer. It makes perfect sense that one should have the tools they need to perform a task when they plan on doing so and it’s time to do the thing. Yet, I’ve been in that position myself and I’ve lent my tools to countless other folks at the range because they found themselves in that same position.
Tip #4: Use a target designed for zeroing optics.
Most public ranges should have a target designed for zeroing optics available for sale, but that isn’t guaranteed. Basically, we want a target with a grid that will make it easier to measure the vertical (elevation) and horizontal (windage) distance between the point of aim and the point of impact. A good zero target will have several easy to see point of aim locations with a high contrast against the rest of the target which makes consistently aiming at the same spot easier. Shoot-n-see style targets work really well for zeroing as well as they can help one see the impacts without having to retrieve the target for measurements between shooting and adjusting.
As a side note, or a bonus tip if you will, I prefer zeroing optics at indoor ranges as they generally have mechanisms to place the target at a specific distance and retrieve it without having to call or wait for a ceasefire in order to retrieve the target or place it at another distance. This makes the process much faster.
The four tips above are like cheat codes to make the zeroing process easier and faster. For the process itself, I like to start with the target at 5 yards where I fire one or two shots at the at grid intersection that isn’t one of the big bright aiming points, but not at the edge of the target just to make sure the red dot isn’t way off. What’s “way off”? Well, if the impact is an inch or more to the left or right of the point of aim then I know the windage is way off. If the impact is at the point of aim or higher or more than two inches below, then I know the elevation is way off. In both of these cases, a significant adjustment is necessary. If the impact is about an inch below the point of aim, then the optic is pretty close to zero and I’m ready to begin zeroing.

Next step involves setting up the target at 10 yards. Using the pistol rest while aiming at one of the high visibility points of aim on the target, I will take three to five very slow shots with the goal of making each shot as close to perfect as I can. That means gradually increasing pressure on the trigger slowly so that the break surprises me. There is no need to rush. A flier makes it harder to estimate the center of the group. If I notice a flier, then I fire an additional shot. Then it’s time to measure the difference between the point of impact and the point of aim and make adjustments accordingly to the optic.
Tip #5: At 10 yards, it will take about 20 clicks of an adjustment dial to move the point of impact 1”.
Adjustment dials on most pistol mountable optics are set up where one click of the dial is equal to half an MOA of adjustment. Since we are dealing with angles here, the distance the point of impact is adjusted is relative to the distance of the target. A 100 yards, one MOA is roughly 1”. At ten yards, one MOA is roughly 1/10” or 0.1”. That means we have to adjust 10 MOA to move the point of impact 1” at 10 yards. Since most dials work in ½ MOA increments, that means 20 clicks will be needed to move the point of impact 1”. That’s a lot of clicks. Half an inch? 10 clicks. Quarter inch? 5 clicks.
Another bonus tip, check the labels on the optic or consult with the optic manual to ensure the adjustment increments are indeed ½ MOA per click. While I can’t recall a single pistol mounted optic that has different adjustment increments, it doesn’t mean they don’t exist. Don’t assume. Confirm. If the adjustment increments are different, then the number of clicks will be different. For example, if the increments are 1 MOA, then 10 clicks will translate to roughly a 1” point of impact adjustment at 10 yards. If the increments are ¼ MOA, then 40 clicks will be needed for a 1” adjustment.
Tip #6: Always confirm adjustments made with an additional group.
Don’t trust that the angle math and click counting are sufficient for the zero you are looking for. If you made adjustments, then shoot another group. We may have overcorrected, made an erroneous measurement, miscalculated the number of clicks, or made some other mistake. We are human after all.

Once happy with the 10 yard zero, one can stop. Or move the target to 15 yards and go after a 15 yard zero. Where we repeat the process and continue on to 25 yards if desired (and capable). If planning on finishing with a longer distance zero, then I suggest not spending too much time fine tuning the elevation adjustment at each distance. The point of impact at closer distances will be slightly below the point of aim. How much below? That depends on the distance between the center of the optic and the bore of the pistol. We call this height over bore. It also depends on the desired zero distance. That means that the difference between the point of impact and the point of aim will be a shorter distance when using a 15 yard zero than when using a 25 yard zero.
Once again, I will suggest sticking with a 10 yard zero at first. When pistol marksmanship skills improve and one is able to shoot nice tight groups at 15 and 25 yards, then it may be worth considering a longer distance zero. Until then, it is likely to be a frustrating exercise if not a futile one.
Final tip: Have fun (and be safe)!


2 responses to “How to Zero a Pistol Mounted Optic”
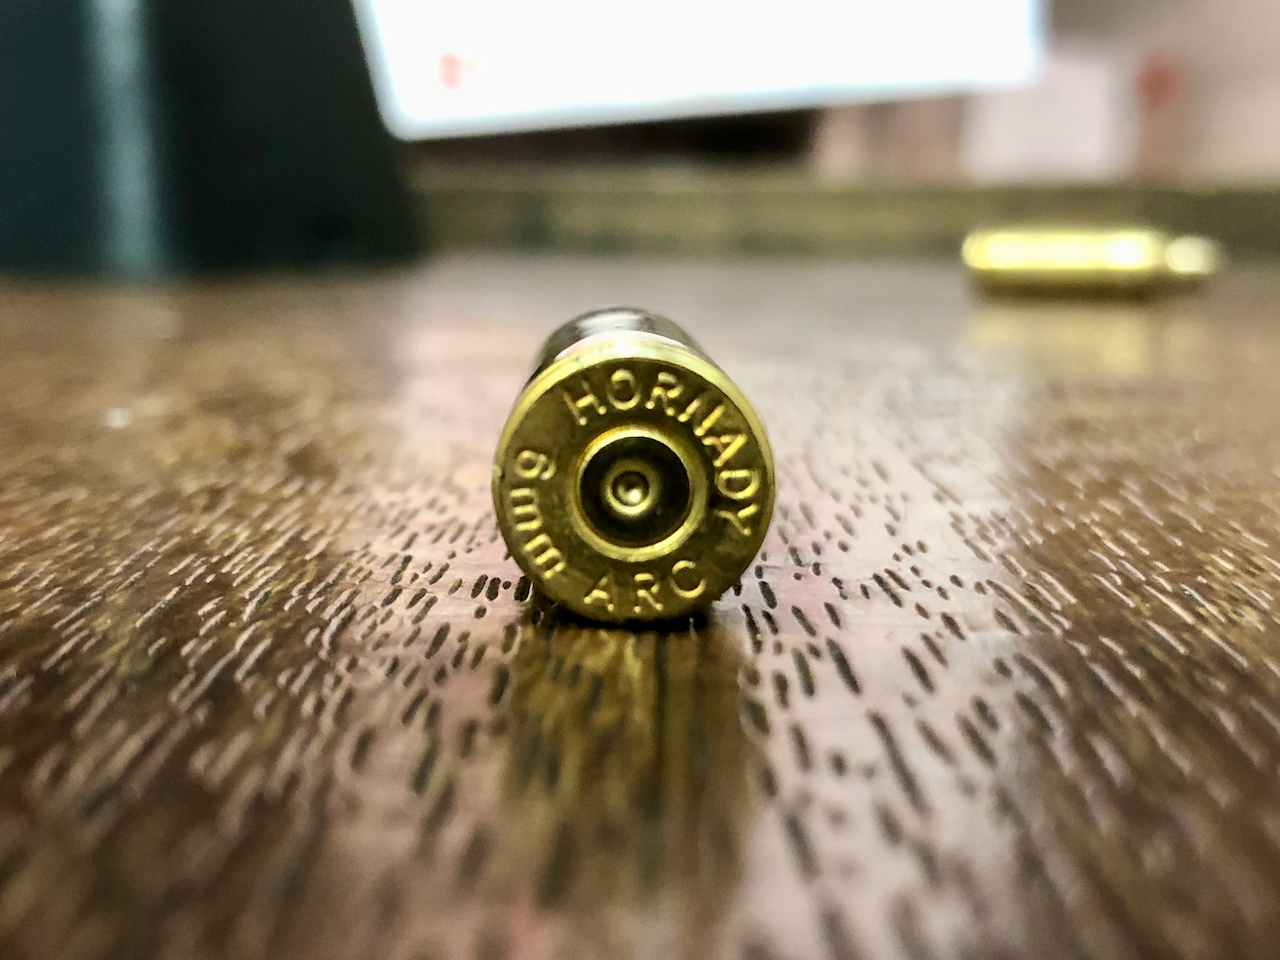
One more tip: Zero the gun with the ammo you plan to use for “serious purposes”. If it’s a competition gun, zero the gun with your match load. If it’s a self defense load, zero the gun with your defense load. If you zero the gun with 115 gr loads, and you shoot 147 subsonic loads in competition, for example…and you zero the gun at 10 yards and don’t check it at 25 yards…you may be surprised to find your point of impact is not where you thought it was. At 5 yards it won’t matter much, but like you I prefer a 25 yard zero, shot from a pistol rest, with the right ammo.
[…] How to Zero a Red Dot Optic (Uncle Zo) […]