Some of y’all might be wondering why this month appears to contain two drill of the month posts in one month? That’s not really the case, but it kind of is. Let me explain. The drill of the month posts tend to also include a standard and a difficulty analysis. This drill has neither. On the other hand, I didn’t get around to including a drill of the month post last month. So I suppose this post attempts to make up for it. At any rate, let’s talk about the Live-Empty drill.
I was first introduced to the live-empty drill by Karl Rehn when I attended the KR Training Handgun Beyond Basics class a little over two years ago. I’m not sure who came up with it, but it’s a variation on another drill called the Live-Dummy drill whose origin I’m also unfamiliar with. The difference between the two is the use of an empty chamber instead of a dummy or inert cartridge. The elimination of the dummy round makes the set up of the live-empty drill significantly more efficient and eliminates the hassle of recovering ejected dummy rounds. Unfortunately, the live-dummy drill must be used instead of the live-empty drill when folks use this drill with a semi-automatic pistol that features a magazine disconnect safety.
Before jumping in the drill details and commentary, I want to preface it by explaining the lack of a standard and difficulty analysis. This is because not all drills are intended to provide a measurement of performance. In some cases, drills are designed to be diagnostic or skill building exercises. In other words, they are designed to help the marksman identify issues or deficiencies in their technique or an avenue to correct or improve their technique. The Live-Empty drill is one of these.
The Course of Fire
Target: Depends on how one uses the drill, but generally speaking any target will do.
| Distance | Start Position | String Procedure | Par Times |
|---|---|---|---|
| Varies | Dealer’s choice following set up procedure | Fire two shots at designated target (additional revolver variations will be covered later in this post) | No official par time, but an appropriate par time can be used if desired |
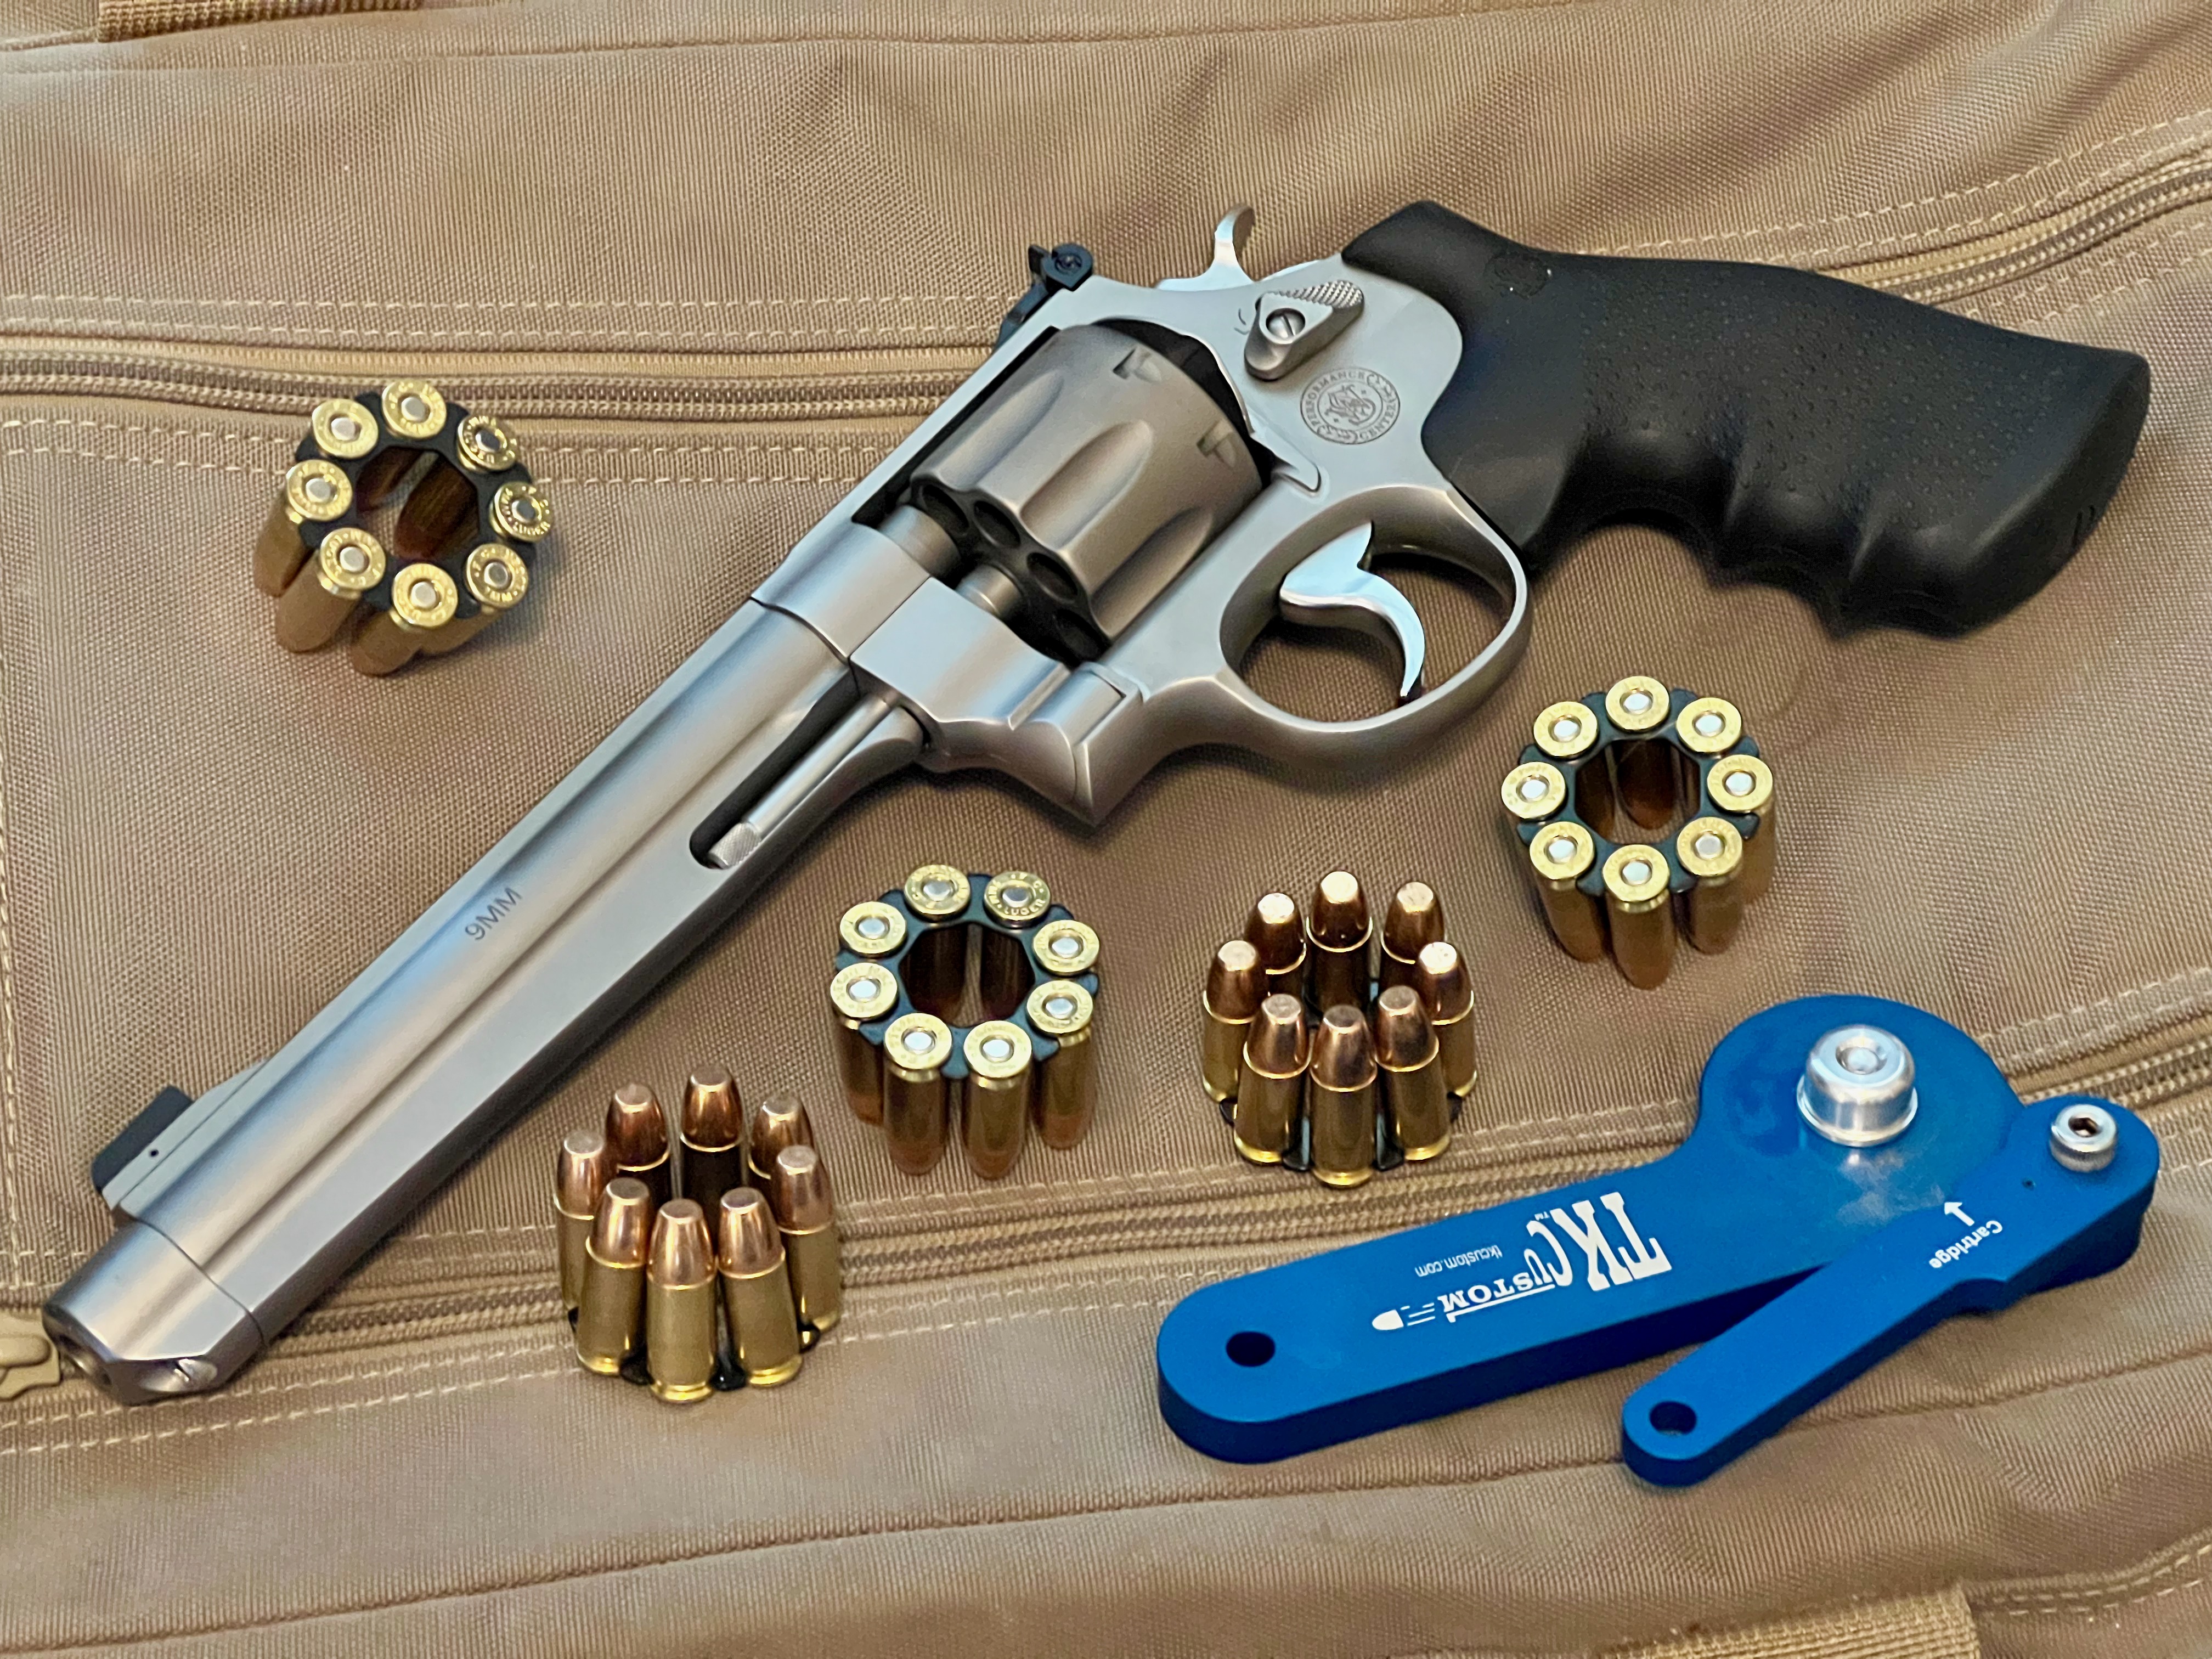
Set up: Load a round into the chamber and remove the magazine. If the pistol has a magazine disconnect safety, load a magazine with a dummy round followed by a live round and repeat until the magazine is full and the first round loaded is a live round. If using a revolver, load a round in every other chamber in the cylinder while ensuring the cylinder is closed on an empty chamber so that the first trigger pull results in a bang.
Firing two rounds as indicated by the string procedure results in one live fire trigger press and one dry fire trigger press.
My Thoughts on the Drill
I’ve become a huge fan of this drill. Admittedly, it took me a while to warm up to this drill, but that’s only because not all the applications I see for this drill were immediately apparent when I was first introduced to it. However, that changed as my exposure to the drill in various KR Training classes continued and accelerated when I started using the drill in my live fire practice sessions. As of writing, the Live-Empty drill has become a common staple in my live fire practice.
The primary function of the Live-Empty drill is to expose and correct issues related to grip and trigger manipulation which are most often the culprits for a muzzle and target misalignment while shooting. Correcting grip and trigger issues results in more accurate shooting in isolation or at speed. Depending on how the drill is used it can also aid in exposing and correcting issues with visual discipline and presentation of the pistol from either a ready position or when drawing it from a holster.
In its purest form, the drill consists of starting aimed on a low difficulty target and attempting two good trigger presses with no time limit. The drill can be used to diagnose issues related to grip, trigger manipulation, and visual discipline. For example, if one has to adjust their grip from the first to the second shot, then that indicates the grip technique is not durable which could be a technique or gear issue. The second trigger press might result in the muzzle of the pistol dipping indicating the flinch or pre-ignition push. The muzzle might also move laterally indicating too much input from the trigger finger. A large time gap between the first and second press might reveal a habit of confirming impacts on the target visually before continuing the target engagement. Once an issue has been identified, then the drill can be used to make corrections.
The Live-Empty drill can also be used to develop different levels of aiming confirmation for targets of varying difficulty. This can be done with the secondary dry fire trigger press, but it requires a lot more ammunition. One way to do this is to start with a set up pistol holstered, on a signal draw and press the trigger twice once the corresponding level of aiming confirmation is available. Paying attention to how the aiming system behaves during the second press can reveal opportunities for technique improvement while working to get the desired aiming system behavior. This approach can also be done to help develop one’s ability to call shots by making a mental note of the impact of the first trigger press and then confirming whether or not the impact on the target is near where one thought it was. Aggressive par times can also be introduced to help develop accuracy at speed.
Multiple targets can be used with this drill as well to help with transition work. For example, two trigger presses can be done on one target and then followed by moving to the other target. Alternatively, one can start aimed at one target, then transition to the second target, and pressing the trigger twice on the second target. One trigger press on each target is yet another variation that can be used in conjunction with the Live-Empty drill. These variations of the Live-Empty drill work well at improving visual focus discipline which, in my opinion, are the Achilles heel of proficient target transitions.
It should be apparent that there are a lot of possible ways to use the Live-Empty drill. The bottom line is that the second press, or more precisely the input we get from the aiming system during the second trigger press, gives a lot of input that can be used for diagnostic and correction purposes.
Revolver Variations
Skip loading works. Skip loading is also probably the best bet to use the Live-Empty drill as I’ve described in the previous section. However, sometimes a surprise dry fire trigger press can reveal different things than an anticipated one. Especially when working towards mastering a revolvers double-action trigger pull. There are a couple of drills I picked from Wayne Dobbs while attending his Revolver Fundamentals live-fire block at TacCon24 that are excellent for this. The best thing about them is that they don’t require any special loading setup. Simply start with a fully loaded cylinder.
As I mentioned in the TacCon24 after action report post, I don’t recall the names of the drills. Nevertheless we will revisit them.
The first drill, which I will refer to as the spin-fire-one drill (I’ll come back and update this post when I obtain the correct drill names), starts with a fully loaded cylinder which is randomly rotated (spin) and the trigger is pressed until a single shot is fired (fire-one). Then the cylinder is released, randomly rotated (spin), closed, and the trigger is pressed until another single shot is fired (fire-one). This process is repeated until all of the rounds in the chambers have been spent. Any start position can be used for each string. The number trigger presses to complete this drill ranges from the number of rounds chambered to a sum of number of chambers when counted individually. I hope that made sense, but I bet it didn’t because it hardly makes sense to me. Let’s look at an example. For a revolver with five chambers, the number trigger presses required to fire all five shots will range from 5 to 1 + 2 + 3 + 4 + 5 which equals 15. For a revolver with six chambers, that range will be 6 to 21. For seven chambers, that’s 7 to 28.
The second drill, which I think was referred to as the 1-2-3 drill (again I’ll make corrections in the future when corrections are available), consisted of starting with all chambers loaded and randomly rotating the cylinder, then pressing the trigger until the correct number shots are fired for each string. The first string requires one shot. The second string calls for two shots, The third calls for three. The number of shots per string can be adjusted for use with revolvers that have a different number of available chambers. For example, a 1-2-2 variation can be used with revolvers with five chambers and a 1-2-4 can be used for revolvers with seven.
Both of these drills give us the opportunity to diagnose and improve grip durability and trigger manipulation. Just like the Live-Empty drills, the dry fire trigger presses and what the aiming system does during those trigger presses can be extremely valuable when it comes to diagnostics and improvements.
Closing Thoughts
The Live-Empty drill is a gem that can be beneficial for both diagnosis and skill development especially when it comes down to working on the grip and trigger components for marksmanship fundamentals during live fire practice sessions. The combination of live fire and dry fire has the benefits of aiming system input that is easier to perceive while reducing ammunition consumptions. Like all practice and training endeavors it requires the user to be actively present while using it in order to maintain maximum awareness and get the most value out of it.
As I mentioned, I’ve become a big fan of the Live-Empty drill and it’s become a staple for me in my practice. Furthermore, I’m still finding new ways to use it. I will encourage those of you who read this far to give it a try and let me know what you got out if either by commenting on this post below or hitting me up on social media.