
I took KR Training’s Handgun Beyond Basics again last weekend. The decision to take it again was simply because I wanted to make a full day out of going to KR Training since I was taking the afternoon class that I hadn’t taken before (an after action report of that class will follow very soon) and figured a little warm up and a refresher couldn’t hurt. I was right, but it turned out to be more than the warm up and refresher I expected.
Okay, let me backup a bit. The class was pretty much the way I remembered it. The emphasis, the lecture, and the range time was for all intents and purposes identical to my first foray through it. We were still working on skills needed for engaging targets effectively and efficiently at five to fifteen yards. Furthermore, the lecture remained focused on the common shooting errors that prevent getting good hits on targets quickly at those distances.
So what changed? The short answer is me. I changed. I’m not the same person I was when I last took the class. My paradigm has shifted. As such and even though the class remained essentially unchanged since the last time I took it, what I heard and took away were very different. Before I get into that, let’s cover the gear I used since that’s a frequent inquiry.
The gear I used was:
- Gun: Heckler & Koch VP9 with a Trijicon RMR outfitted with Jerkman Custom Grips
- Holster: G-Code Incog Eclipse IWB holster
- Mag pouches: Concealment Solutions Venom Single Magazine Carrier x2
- Belt: Concealment Solutions 1.5″ Python Gun Belt (Horsehide)
- Ammo: CCI Blazer Brass 9mm 124gr FMJ (round count for the course was roughly 150 rounds)
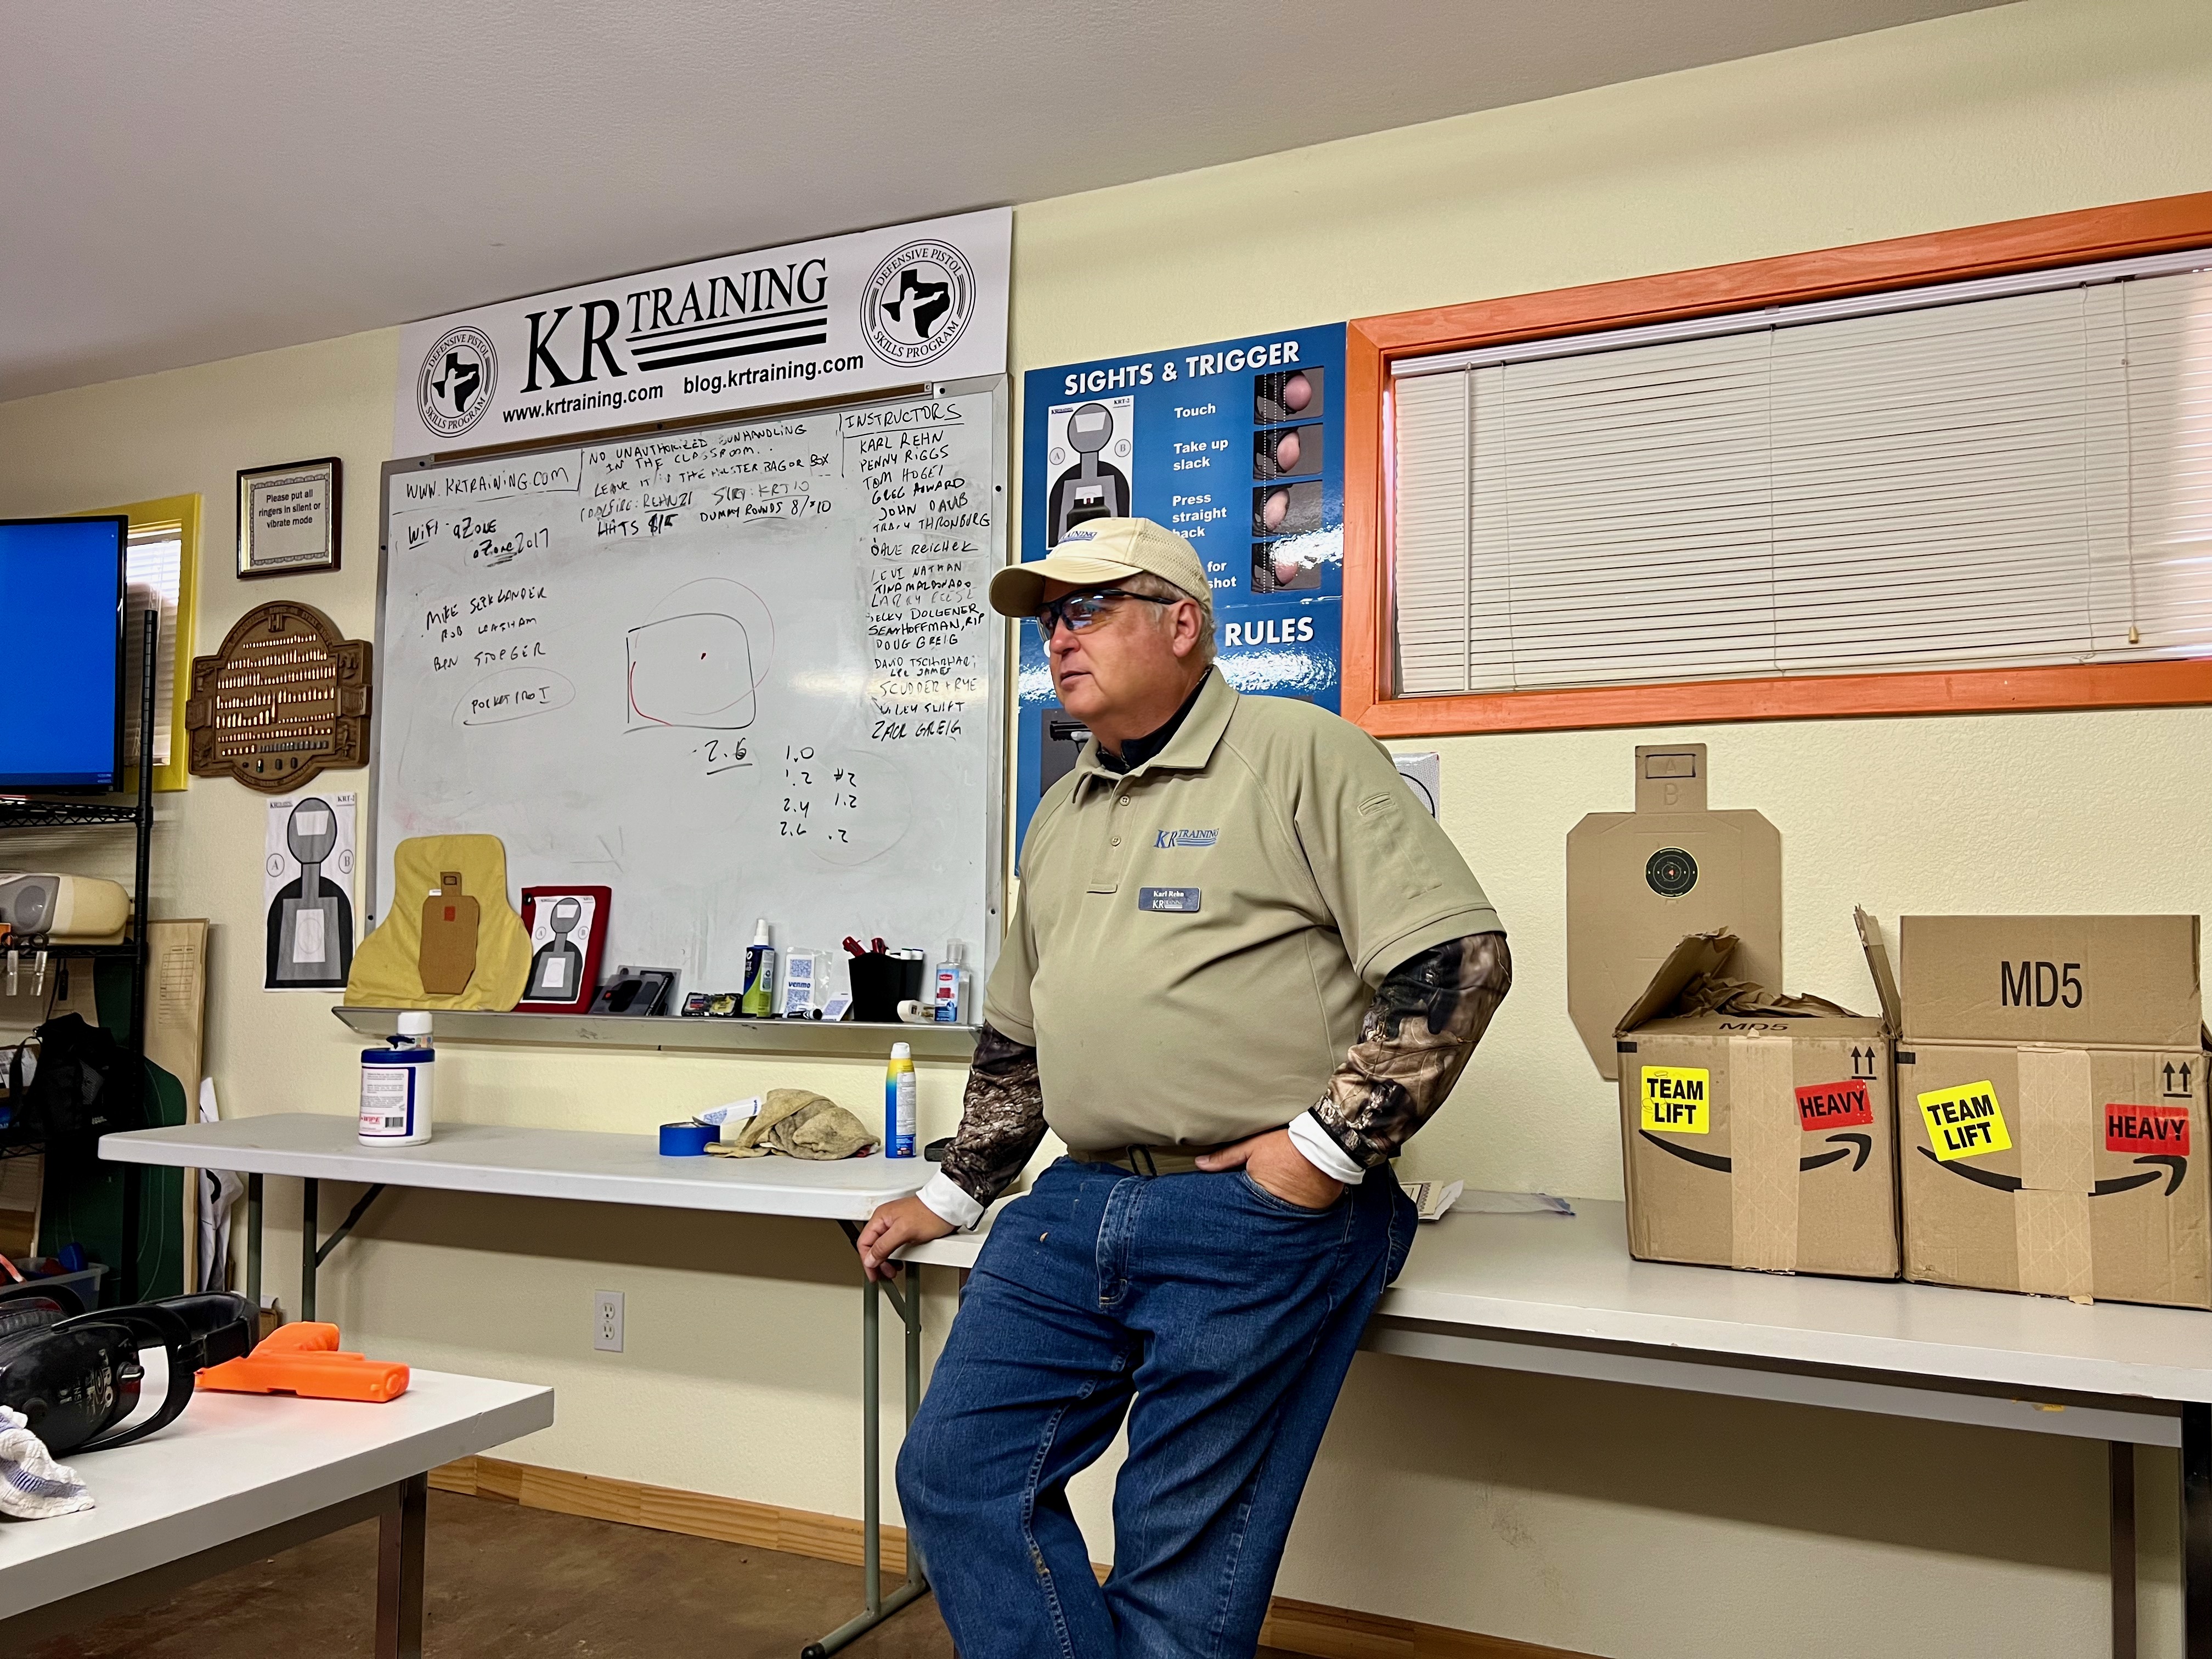
Now back to the class which was led by Karl Rehn with John Daub’s assistance. Just like the last time I took the class, it began with a 90 minute lecture focused on correcting common shooting errors which, as I mentioned in the post about my previous class experience, is the topic from another KR Training course aptly named, Correcting Common Shooting Errors. In that last post I mentioned that I wouldn’t attempt to go into all the details covered in the lecture as I wouldn’t be able to do it justice. That’s another way of saying, the lecture got pretty deep but I only understood a small portion of it. While I won’t claim that I have a full grasp of the content covered now, I found myself nodding my head in agreement as many of the finer points in the lecture resonated with what I’ve learned since I last took the class. As such, I’ll place a stronger emphasis conveying the main things I took away from the lecture in this post.
The lecture predominantly ponders the question of, why do we miss? The answer to that is quite obvious – a miss is the result of a projectile leaving the muzzle of the pistol when it isn’t sufficiently aligned with the intended target area. That’s it. In order to not miss, we simply have to ensure the pistol remains sufficiently aligned with the target area at the moment the projectile exits the muzzle. However, doing that is easier said than done and requires one to properly employ several fundamental techniques concurrently. To make matters worse, diagnosing which techniques are in need of correction is very challenging since humans tend to blink the moment a shot breaks and the duration of the blink is orders of magnitude greater than the time it takes for a projectile to ignite, leave the barrel, and impact the target. Not blinking when the shot breaks is a hard thing to achieve since it is an autonomic physiological response to the contained explosion that occurs just a couple of feet in front of our face when shooting. So in essence we are quite literally shooting with our eyes closed and we are missing because the muzzle is misaligned with the intended target when the projectile leaves the barrel. That begs the question, “Why is the muzzle misaligned when the shot breaks?” The answer to that lies in the common shooting errors explored throughout the rest of the lecture.
The vast majority of errors come from us. However, one error covered in the lecture can be attributed to the iron sights or the pistol optic not being zeroed properly. There are some handguns, such as small J-frame revolvers, with integral iron sights that can’t be adjusted without removing material from them. However, most fixed iron sights can be drifted to adjust for windage (horizontally), but they still require material removal to adjust for elevation (vertically). Since material removal is a permanent adjustment, it is probably wise trying out different flavors and brands of ammunition to hopefully, with a little luck, find one where the point of impact is similar to the point of aim (at least along the unadjustable plane). The point is the sighting system needs a proper zero that is specific to the ammunition used. An improper zero will manifest itself as misses as the distance to the target increases and the shots become more difficult. There was not enough range time in the scheduled class time to zero pistols, which can be a time consuming process. However, this error can be spotted on targets when a string of shots on the same point of aim results in a tight group that is centered around something other than the intended point of impact.
Assuming the sights or optic have a proper zero, another sighting error is using the wrong hold for the target distance. The hold refers to the point of aim needed to achieve the desired impact on the target. The point of aim is going to be different depending on the sighting system and zero distance. This is because line of sight is not affected by gravity while the path the projectile takes is. Regardless of the sighting system, the line of sight is always above the muzzle. When the pistol is fired, the trajectory of the projectile rises to meet the line of sight. Depending on the zero distance, the trajectory of the projectile may continue to rise until it reaches the apex and the trajectory begins to fall. Due to the trajectory being an arc, the point of aim, or the hold, must change as the distance to the target increases. In the case of iron sights, the sights will typically need to cover the point of impact at close range. At medium ranges, say around 15 to 25 yards, the top of the iron sights will likely need to be aligned with the desired point of impact. As the distance increases, the top of the sights will be further below the point of impact up to a point and will then need to move upwards to account for bullet drop at extended distances. For pistol mounted optics, the point of aim will generally be about an inch above the desired point of impact at close range and on the desired point of impact at medium ranges. At longer distances, the point of aim will be dependent on the distance of the trajectory apex. There is a lot of meat to this error, but the key takeaway is that the point of aim has to account for the trajectory of the projectile. The application of holds was reinforced during range time instruction every time the distance between the firing line and the targets changed.
There were a few other sight alignment and picture related errors that were discussed. The sources of these errors can be attributed to poor sight design or insufficient aiming. The latter of which is often seeing something other than what is necessary for the difficulty of the shot. That works in two ways – not seeing enough or seeing more than is necessary. Not seeing enough affects accuracy, or rather increases the likelihood of a miss, and seeing too much affects speed, or rather shooting too slow. Several range time drills explored this concept. For example, one drill from a very short distance was done with optics turned off or with tape placed over the rear sight to illustrate that well placed hits are completely possible without using the sighting system and only relying on the index or the rough outline of the gun along the eye target line. One of the last drills used two IPSC or IDPA cardboard silhouettes targets and involved firing two shots at two distinct impact areas in a distinct sequence which forced the student to adjust how much they needed to see in order to get acceptable hits in that string of fire.
A fair portion of the lecture was focused on trigger manipulation and grip related errors. I mention them together because they are interrelated. There are a couple of different grip variations that work well. Examples of these include the thumbs forward grip which is arguably the most commonly used grip today, the thumbs high grip which is essentially the same as the thumbs forward grip with less cant on the support hand, and the thumb over thumb grip which is most often seen with revolvers. The thumb over thumb grip allows pressure to be applied with two more fingers (the thumbs) which can be of benefit to folks with reduced grip strength. Which one works best depends on the individual’s hand morphology and specific gun. While there were no specific drills used to try different grips, students who had found themselves regripping the gun between shots in a single string of fire were encouraged to try a different grip to see if a different grip helped maintain a single grip during a single string of fire.
Grip pressure was another subject of analysis in the lecture. The most common advice is to grip the pistol with both hands as tightly as possible without shaking and to maintain that grip pressure consistently while firing the pistol. This isn’t wrong per se, but it is a bit more nuanced. Consistent pressure is necessary to avoid milking. Milking is a term used to describe the process of tightening the grip as the trigger is pressed. The increase and decrease of grip pressure while actuating the trigger causes the muzzle to move. Another missed nuance involves not tightening the firing hand grip to the point where tension is introduced. We do want the firing hand to apply consistent pressure, but we also want it to remain relaxed so that the trigger can be pressed straight to the rear with gradually increased pressure until the shot breaks. No more. No less. Tension makes it difficult to apply pressure in a smooth and quick manger and can lead to one of the most common errors: yanking the trigger.
There are a few different ways to describe pressing the trigger too hard and too fast. Yanking is the term Karl Rehn used to describe this. Honking and snatching are a couple of other ways. I personally prefer the term honking the trigger, but the term isn’t important. What is important is that yanking the trigger is bad. Repeatedly yanking the trigger can usually be spotted with impacts peppered all over the target around the desired impact area. It’s the equivalent of slamming the gas pedal of a vehicle all the way down to the floor and causing the throttle to go from closed to open. Ideally, we want to quickly take out the slack in the trigger, otherwise known as the pre-engagement travel, which can be done with almost no pressure. Once the trigger is engaged, which is often referred to as reaching the wall, we want to gradually increase pressure until the trigger breaks. The more difficult the shot the more finesse that is required to minimize muzzle movement the moment the trigger breaks. I’m reminded of Tom Givens saying and I’m paraphrasing, “applying more pressure than an item weighs will cause the item to move”. And that’s exactly what is happening here, we are applying four to five pounds of pressure to the trigger of a gun that weighs less than two pounds give or take. More grip pressure can help hide the effects of a bad trigger press, but only up to a point.
The dry fire that took place at the beginning of the range time that followed the lecture worked the grip pressure and trigger manipulation concepts we discussed in class. The live-empty drill which involves chambering a round in the pistol and removing the magazine before firing a pair of shots, one of which is empty, also helped identify trigger yanking errors in addition to flinching or pre-ignition push which are two additional errors that can lead to less than perfect impacts.
There were several other errors that were examined in class, but in my opinion are a little less common, have limited correction options, or don’t apply as broadly as the ones I’ve covered so far. The first one is frame dragging, or pushing against the frame with the middle of the trigger finger, which is usually a manifestation of shooting a pistol that is too large for our hands. The best fix for this is using a slimmer pistol with a shorter trigger reach. We spent some time talking about errors related to stance such as a rearward weight bias and weak or bent elbows that limit the amount of grip pressure one can apply, which can be fixed by shifting to a forward weight bias and fully extending the elbows without locking them, respectively. There were several errors relating to holster selection and orientation which can prevent establishing a solid master firing grip early in the draw process. Last but not least, we discussed reload related errors.
To summarize, there are many little things that can lead to a missed shot or wasted time between shots. Sometimes it’s one thing, but more often than not it’s a combination of little things. Diagnosing which things are leading to misses is challenging. In fact, I still find that coaching and instruction are by far the easiest and fastest way to identify these errors and start working on solutions for them. A class like this is perfect for that and I’m quite happy that I took it again.
The entire Defensive Pistol Skills Program at KR Training is fantastic and I strongly recommend it to every single person who wants to own or currently owns a defensive pistol. Classes like this one and many others are available pretty much year round. KR Training also regularly hosts classes from top tier national trainers. Upcoming scheduled classes can be found on their website. If you’ve read this far, then you owe it to yourself to check it out.


3 responses to “KR Training Handgun Beyond Basics Again”
Now that I have my challenge coin I guess I need to start taking some of these courses a second time. 🙂
“Refresher classes” are half-price.
[…] Beyond Basics Again (Uncle Zo) […]