
I should have started writing this after action report days ago when things were fresh in my mind, but alas life events and procrastination teamed up and here I am starting this report almost a week later. They say better late than never. Hope it’s true. Otherwise, this might not be a very good after action report on the Defensive Pistol Skills 1 (DPS-1) course offered by KR Training instructed by John Daub.
DPS-1 is the first in a series of three courses covering defensive pistol skills which are all required as part of KR Training’s Defensive Pistol Skills Program. The goal of DPS-1 is to introduce novice pistol shooters who have a basic understanding of pistol shooting fundamentals, operation, and safety to defensive shooting. Frankly, I think the course does a fantastic job at achieving that goal which I’ll cover in the remainder of this report. My only complaint isn’t with the course content or the instruction, but rather with the very hot and stupid humid weather that takes a toll on all the participants. Nevertheless there is no way to predict what the conditions will be if one finds themselves in a defensive encounter, so in a sense the students get an opportunity to experience gun handling under a bit of stress in less than ideal conditions.
I’ve been looking forward to receiving instruction from John ever since reading the Strategies and Standards for Defensive Handgun Training book co-authored by John back in the later half of 2019 and his blog shortly thereafter. Even though it took some time for me to finally attend a class he was instructing, I wasn’t disappointed. John is a fountain of knowledge. He has received ample training and knows what he is talking about. At the same time, he has an easy going instruction style that I personally enjoyed. It’s hard to describe, but I’ll give it a try. While John has a presence about him that demands attention, he also has some very animated mannerisms with his facial expressions and hand gestures that seemed to put students at ease and kept them engaged. In the classroom, John’s information delivery was light hearted with a dash of humor, but the delivery didn’t diminish the serious nature of the skills being learned. Rather, it made the serious topics easy to digest. On the range, John seemed like an entirely different person while running drills. The light hearted humor was replaced by an all business approach that got more serious as the class progressed and increased the pressure put on the students. I didn’t find the pressure to be overbearing. Instead, it seemed to be just the right amount of stress to expose the students to running the gun safely under stress. The net result was outstanding instruction.
The last thing to cover before getting into the details of the course, because inevitably several folks will ask is the gear that I used:
- Gun: Heckler & Koch VP9 with a Trijicon RMR
- Holster: G-Code Incog Eclipse IWB holster on my strong side
- Mag pouches: Concealment Solutions Venom Single Magazine Carrier x2
- Belt: Concealment Solutions 1.5″ Python Gun Belt (Horsehide)
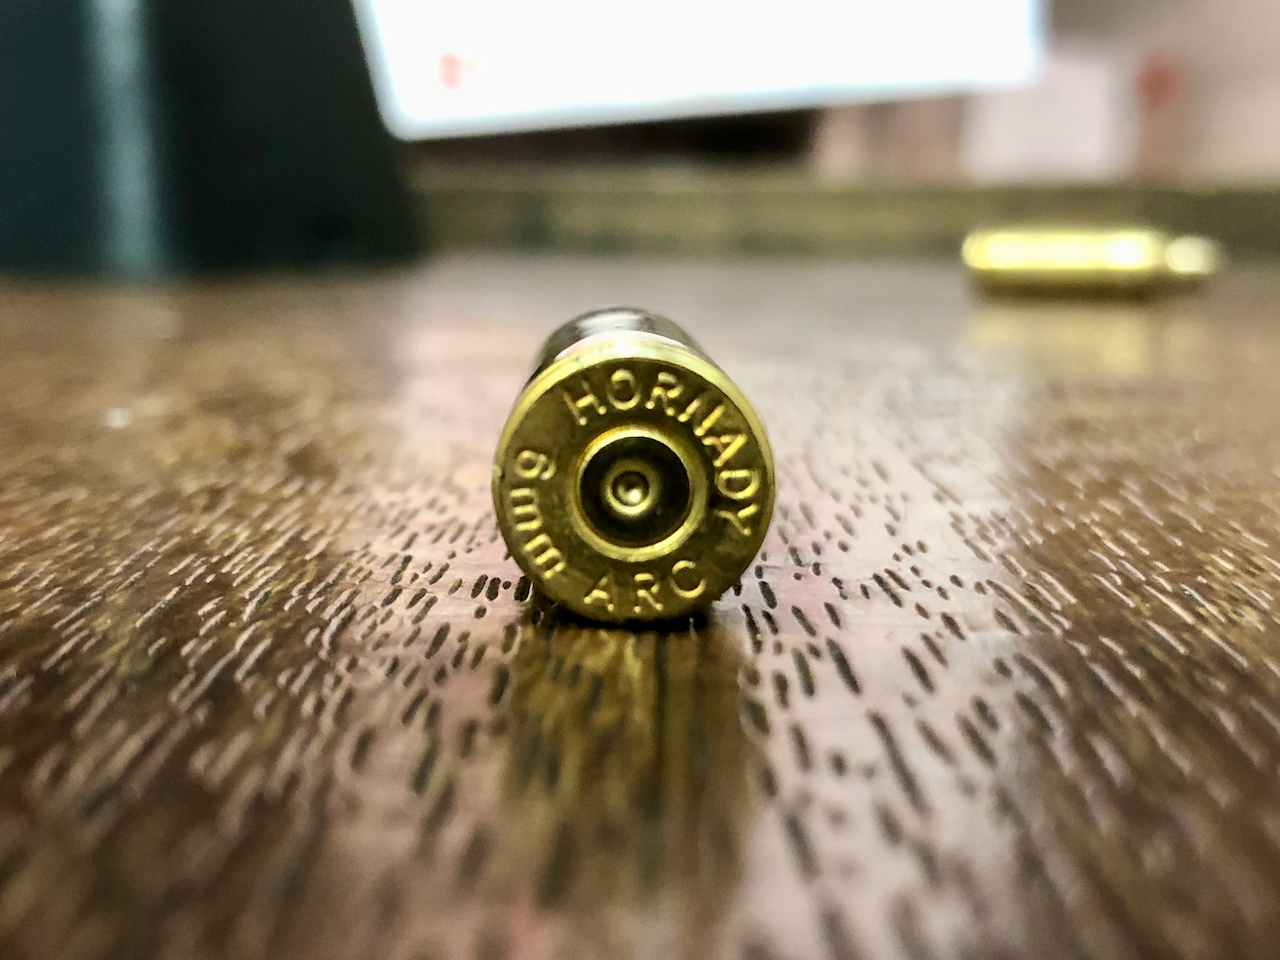
- Ammo: Blazer Brass 9mm Luger 124 gr FMJ
The course started in the classroom with the administrative bits covering safety and expectations for the school, range, classroom, and course that I’ve come to expect from courses at KR Training. The fifteen students were provided with a supplemental packet containing information and advice that is useful for folks new to defensive shooting, that includes:
- A comparison between the myths and assumptions versus the reality of defensive gun use,
- information about gunshot wound ballistics,
- tips and advice regarding holster selection,
- details of the three seconds or less drill and scoring expectations,
- detailed information on presenting a firearm.
The entirety of the handout was covered in the classroom. That was followed by watching a short YouTube video of Paul Gomez covering the draw stroke right before heading out the range.
I don’t know if it was the weather or how much time I allowed to lapse before starting this report that played a larger role in me forgetting many details and sequence of the drills we worked on, but I do recall that we started with confirming guns were in condition 4 (no magazine inserted and empty chamber) before assigning students to one of the two drill relays and starting with a mixture of dry and live fire drills. The initial dry fire and live fire drills started with a focus on marksmanship fundamentals – basic grip, sight alignment, and trigger presses. As the morning progressed, the drills built on each while working the 4 step draw stroke in reverse. That means we started by focusing on shooting from full presentation, then drills started from a few different ready positions. After that we worked from compressed ready (or position 3) with an emphasis placed on developing indexes while identifying opportunities to reduce time to present and making the first shot. For example, starting to stage the trigger as the pistol is presented so the trigger breaks as soon as presentation is completed as opposed to finishing the presentation before starting to work the trigger. This continued until drills started with the pistol holstered openly (not from concealment) and we had covered the entirety of the 4 step draw stroke.
About two hours into the four hour class, we went back into the classroom to cool off and cover some additional topics. We rewatched the YouTube video again which likely made a lot more sense to folks who had not been previously exposed to the four step draw and reinforced what was taught in the first half of the course. We also watched a video of a pharmacy robbery and reviewed an after action report of a police shooting incident. The material offered a lot of good discussion covering topics of the mindset and skills necessary to prevail in a defensive encounter. These discussions set the stage for the second half of the range time which would focus on drawing from concealment and threat scanning among a few other skills.
Back out at the range, we started by spending time on drawing from concealment. John covered various ways to defeat different concealment garments from both a strong side or appendix carry positions. As we picked up the speed and intensity with the live fire drills used to practice drawing from concealment, John pointed out that I was bouncing while drawing. Having a trained instructor observe me during drills, in my opinion, is one of the most valuable aspects of attending these courses. I was oblivious to the fact that I had developed a bounce in my draw even though that is something that I’ve practiced quite a bit while often making it a point to look for unnecessary movement.
The drill we performed to explore and learn about threat scanning is the drill I remember most vividly and I enjoyed the most. The drill consisted of drawing from concealment, shooting two to four good hits (placement and round count was left up to the shooter), consciously asking and deciding if the target needed more shooting, scanning for an additional threat (which was represented by an assistant instructor who wandered behind the firing line holding up two signs indicating to engage either the head or body vital zones of the target to the left or the right of the initial target), and repeating until no additional threats were present and we consciously decided the scene was safe. This was a great drill for me because it dovetailed decision making with shooting skills and that’s not something I’ve deliberately practiced.
The last drill we worked on introduced movement while drawing and then shooting. The movement was limited to a single step to the left or right before engaging the target, which is an extremely valuable thing to do in a defensive situation simply because it turns the defender into a moving (or dynamic) target which is harder to hit. In other words, it’s better to not be a sitting duck. To me this felt like a simplified version of the shooting while running drill I ran when I attended Gabe White’s Pistol Shooting Solutions course last year.
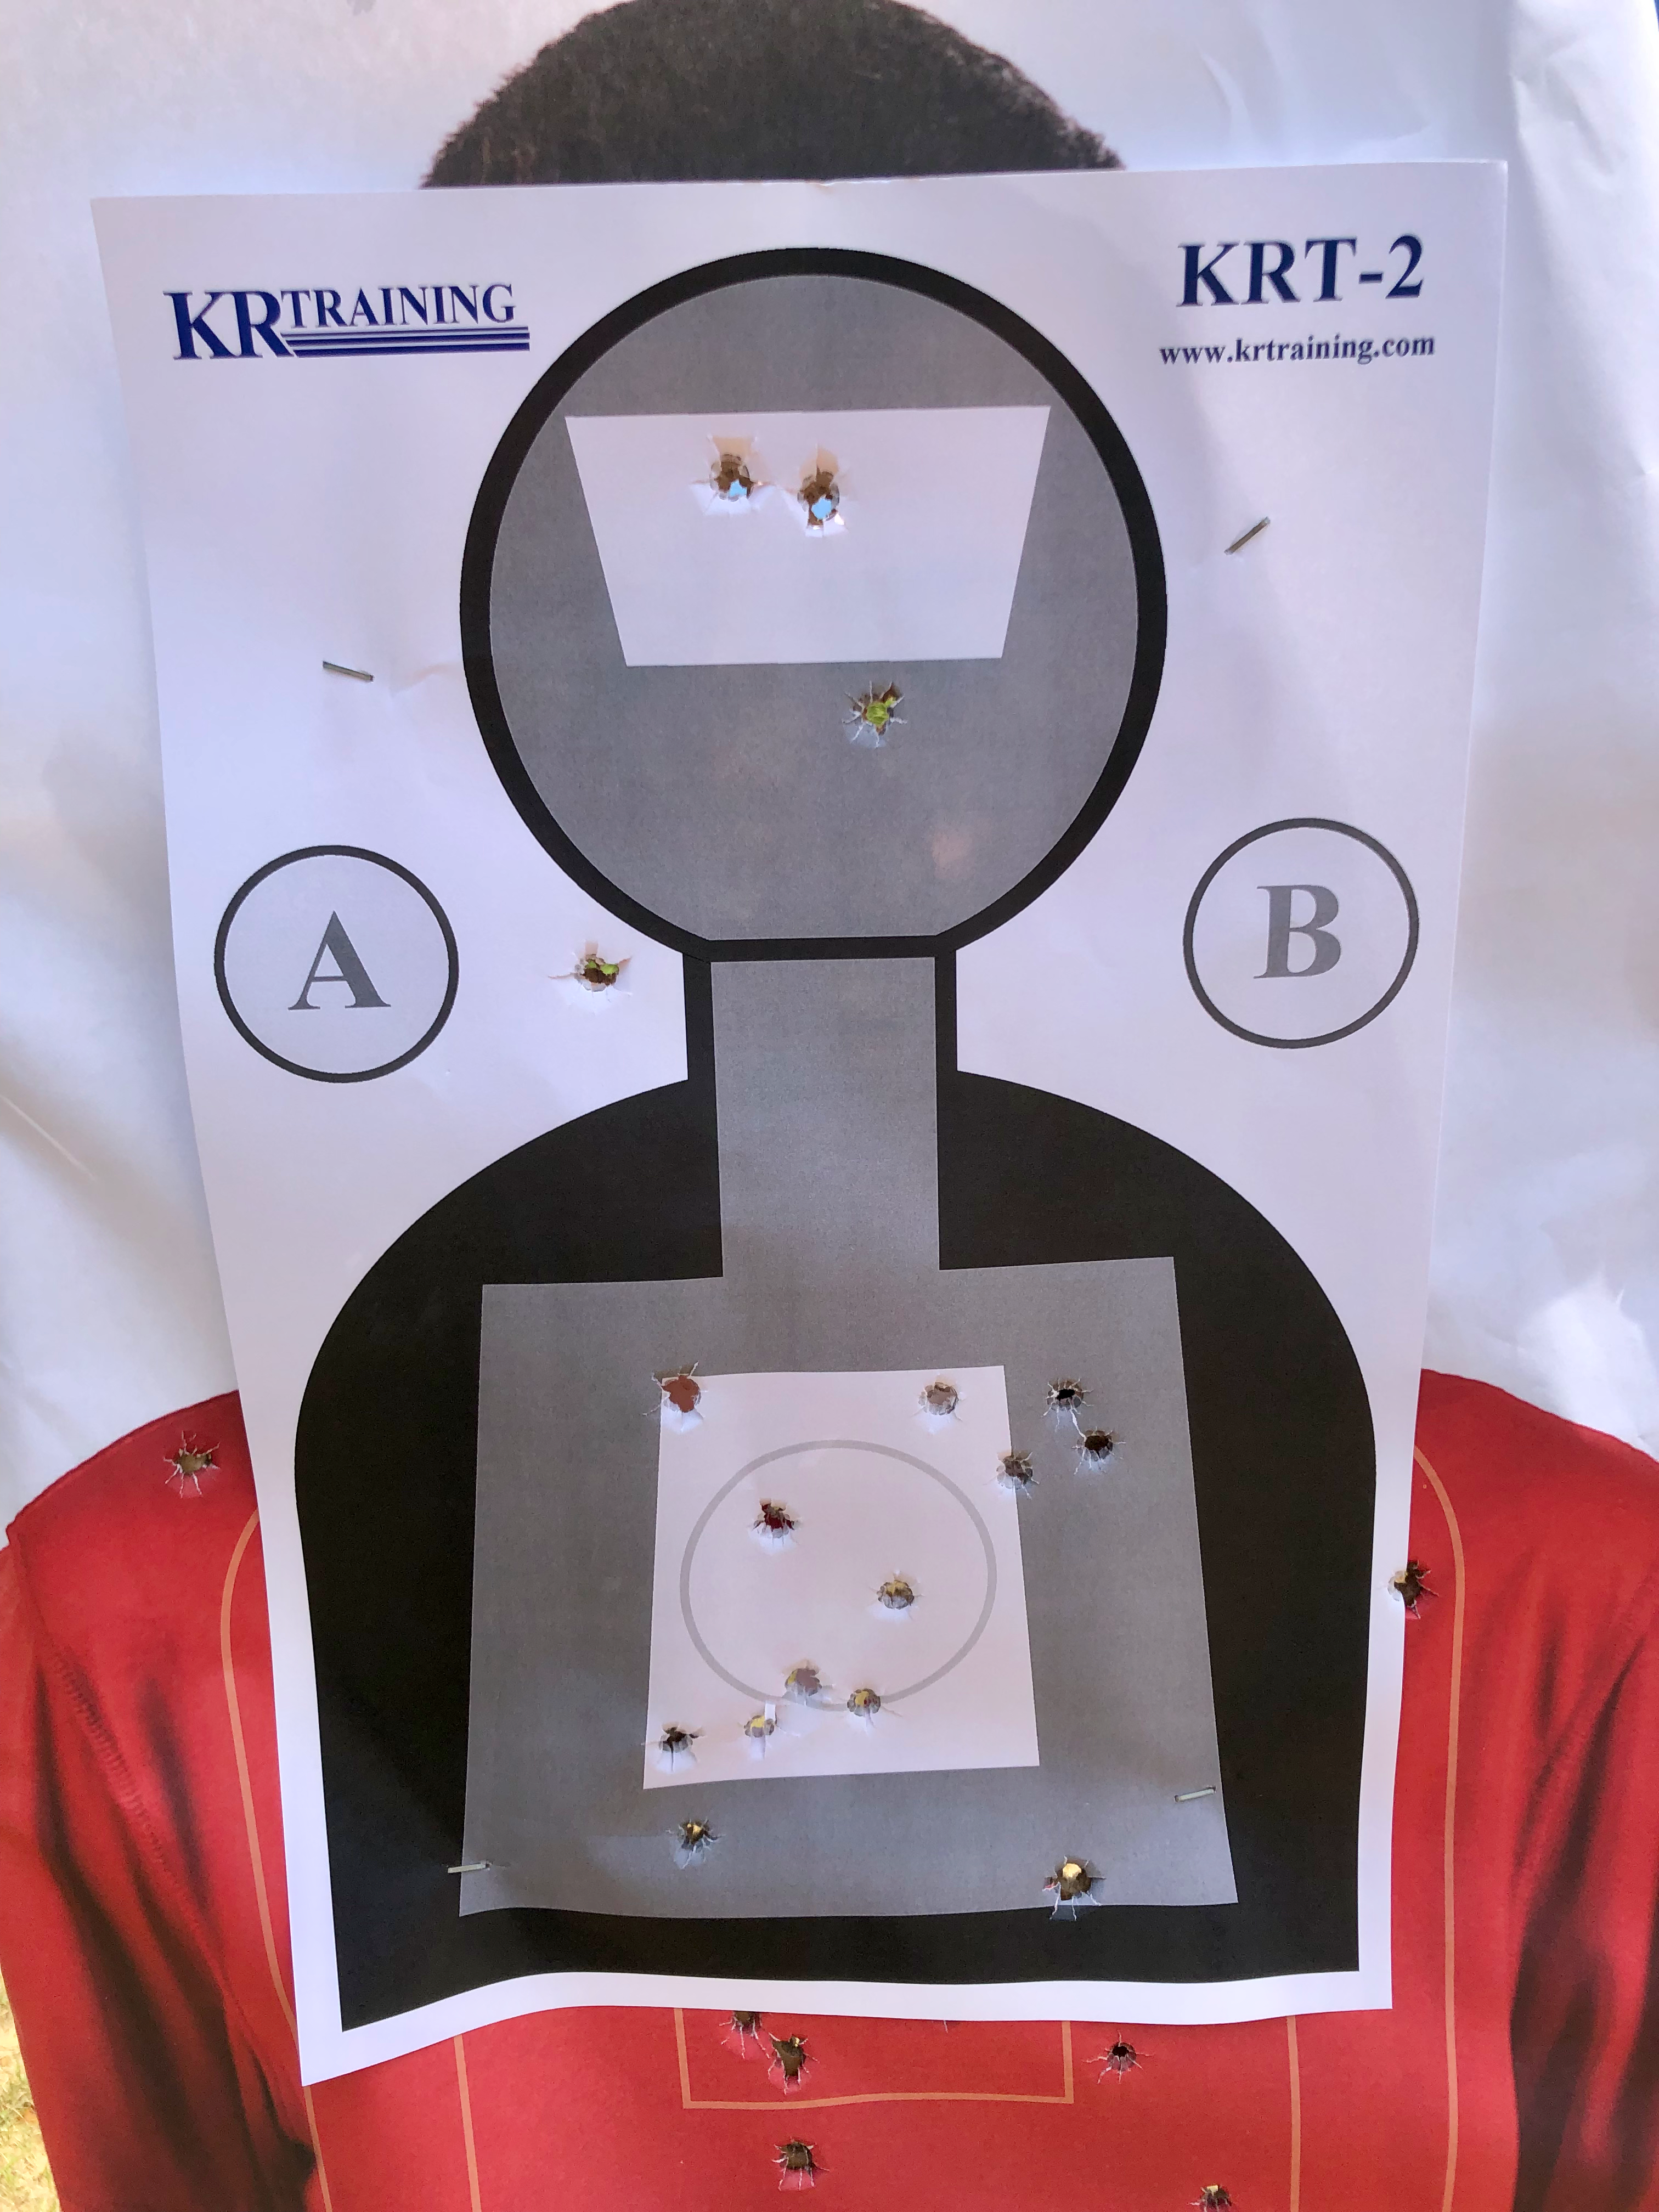
We ended the range time after reviewing and running the three seconds or less drill for score. For the DPS-1 class, a passing score requires 14 or more hits of the possible 20 hits. I won’t hash out the details of the drill because they are available on KR Training’s website. However, I will say that this standard drill (or qualification test) is one of the more difficult drills I’ve attempted. I managed to pass it, but I’m going to need to put in some work if I expect to achieve a passing score when I attend the second class in this series.

After the “test”, which I very much appreciate because it let’s you know objectively where you stand, we returned to the classroom one last time. John took a moment to cover how to dry practice safely and the importance of proper dry practice in order to develop and maintain this highly perishable skill. Every student was asked to share what their biggest takeaway was. The ones that I noted were:
- Learning that their gun, holster, or belt selection could be improved on,
- appreciating the opportunity to learn about and practicing drawing from concealment (some found it to be more difficult than they had expected),
- and some returning students were surprised how perishable shooting skills are.
Having been in the shoes of a first time student before, I appreciated seeing several classmates go from not knowing what they didn’t know to knowing several things they don’t know. Many classmates demonstrated a desire to grow further. That’s a desire that I share and that increased my own motivation to continue growing. Time and time again, attending class helps me identify aspects of my practice that I have become comfortable with (in some cases even complacent with) and could be pushing harder. This class was no different in that regard.
The one thing that I think would improve this class is consistent with what I would like to see from other classes that I’ve attended. That one thing is a list of the drills performed in class along with their instructions and purpose for future reference when planning practice sessions. Perhaps it’s because I’m getting older, but I just can’t seem to recall those details as easily as I used to. Additionally, there really isn’t enough time to write those details down between drill relays as there is just about sufficient time to reload magazines, hydrate, and reapply sunblock.
Without a doubt, I will be suggesting this course to folks who know the basics of how to shoot a pistol safely and are thinking about (or recently started) carrying one for defensive purposes. In fact, I have a few family members and friends in mind that would benefit from this course.


7 responses to “KR Training Defensive Pistol Skills 1”
Howdy, Uncle Zo! I was an Assistant Instructor for your DPS1 class at KR Training on June 12, 2021. I glad that you both enjoyed and benefitted from the class. John has published an E-book, Drills, Qualifications, Standards and Tests. This E-book, along with Strategies and Standards for Defensive Handgun Training, will give you many drills with instructions.
https://pkconsolidated.info/drills-qualifications-standards-and-tests-book/
Thanks for the great, in depth review of the course! One reason most instructors don’t provide students a full list of all the drills that get run in class is that is essentially the lesson plan for the course – which is usually the most important intellectual property an instructor has. Typically the only way students get access to complete lesson plans is by attending an instructor certification course — and even in those, some trainers do not share their own lesson plans but simply provide guidance to instructor trainees in how to develop their own curriculum.
For the DPS-1 class, if you practice each of the strings in the Three Seconds or Less test as separate drills, using the downloadable KRT-2 target, that’s the intended homework and takeaway from the class. Our drills e-book and free chapter from our other book also support the curriculum.
[…] couple weeks after attending the Defensive Pistol Skills 1 (DPS-1) at KR Training, I returned to attend the second course in KR Training’s Defensive […]
[…] Uncle Zo’s review of a DPS-1 course […]
[…] Training’s Defensive Pistol Skills Program. This course builds on top of the skills taught in DPS-1 and DPS-2 with an emphasis on movement, one handed shooting, multiple targets, and getting out of […]
[…] first was completing a modified three seconds or less drill, which I’ve covered before in the Defensive Pistol Skills 1 and Defensive Pistol Skills 2 after action reports. In this course, the drill isn’t a test […]
[…] end up being very long winded, I’ll refer folks to the video I was shown when I attended KR Training’s Defensive Pistol Skills 1 course several years ago where the late Paul Gomez demonstrates the draw stroke in […]