I recently attended my last class of 2023 which was a last minute add on to my training plans for the year. The class was the Pistol-Mounted Optics Instructor course. A 3 day offering from Outrider Training Group held at the Texas Gun Ranch in Terrell, TX.
I wasn’t quite sure what to expect from the class. It wasn’t one that I had on my radar and I didn’t know anyone who had previously taken it. Frankly, I wouldn’t have ended up attending the course had it not been for Jon Bissett’s, the lead instructor and co-owner of Outrider Training Group, request to attend and audit the class which caught me by surprise since Jon and I only knew each other from interactions on social media. I’m happy that I accepted as I got a ton of value from the class and it was an opportunity to meet Jon along with another mutual social media acquaintance in person. The latter of which continues to prove to be a worthwhile activity.
Let’s get the gear out of the way. I ran my typical everyday carry concealed carry set up for the entirety of the class which consisted of the following:
- Gun: HK VP9 with a Trijicon RMR and XS Sights backup irons
- Belt: Nexbelt Titan EDC Belt
- Mag Pouches: Concealment Solutions Venom Mag Carrier x3
- Holster: G-Code Incog Eclipse IWB holster
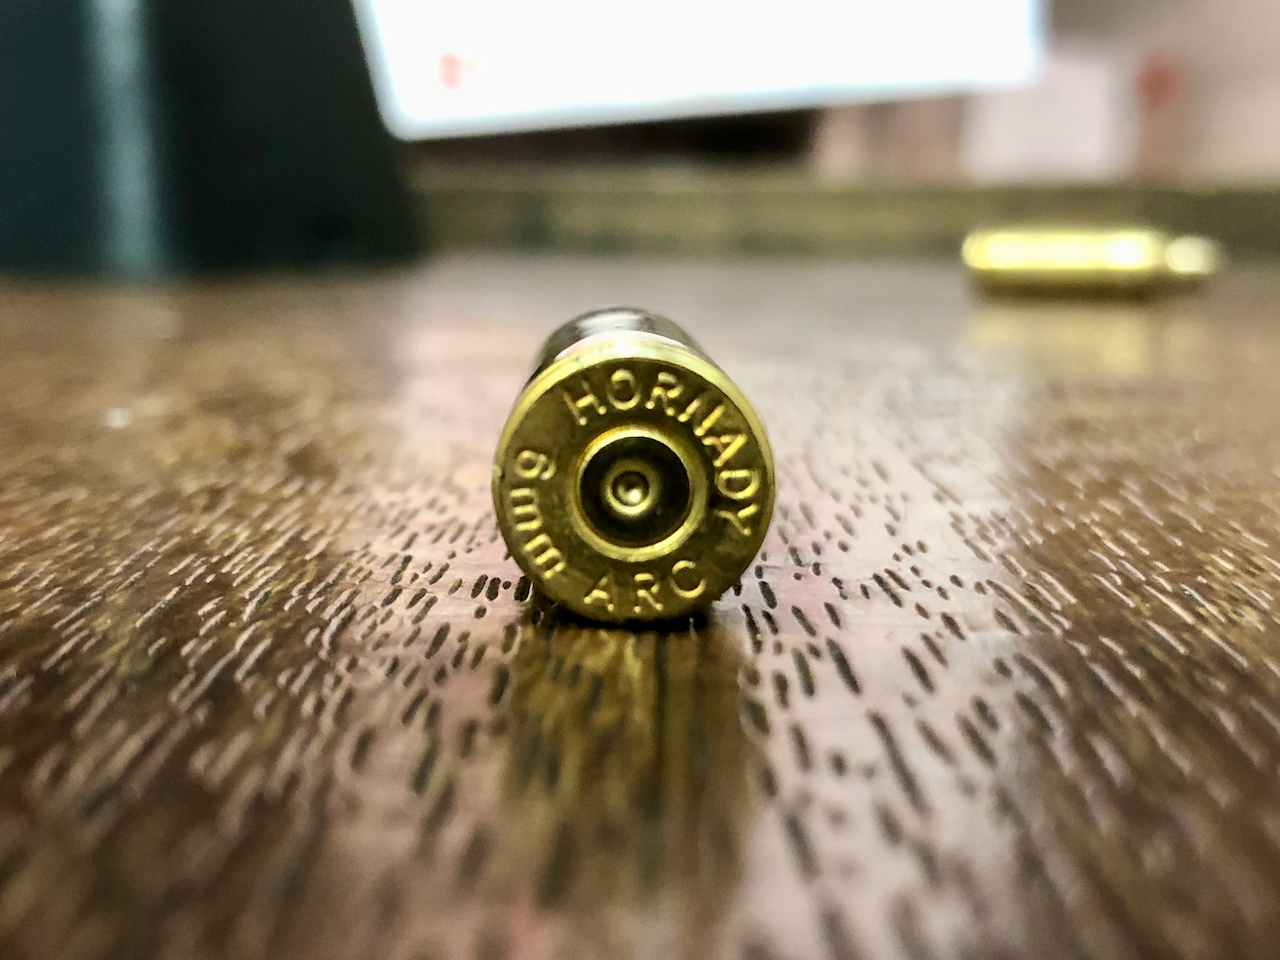
- Ammo: Federal American Eagle 147gr 9mm and CCI Blazer Brass 147gr 9mm (1500 total)
The VP9 ran almost flawlessly. The exception was several failures to feed malfunctions when we worked support hand only on day one. However, I was working through some issues with my grip on day and I suspect my grip was the culprit for the malfunctions as they didn’t happen again even during the support hand only strings on the standards we shot at the end of day three.
Before we get into the course content, I want to take a moment and say a bit about the instructor. Jon Bissett, whom I will refer to as Jon from here on out cause we’re on a first name basis, is a talented instructor with deep knowledge of technical shooting. He has an impressive resume that includes military and professional protection services experience in addition to having received a notable amount of instruction from well respected instructors. He’s also a highly competent shooter. The thing is, he doesn’t wear any of those credentials as a badge. Rather, he is humble almost to a fault while taking great care to ensure every single student understands the material presented in the course work and goes to great lengths to ensure that every student leaves the instructor level class prepared to grow as both a shooter and an instructor. He will help you become better if you give him the chance.
Day 1
The class began in the classroom with the typical administrative tasks covering safety and emergency procedures. This was followed by brief introductions and student expectations. We then spent the remainder of the first two hours receiving an academic overview of pistol mounted optics and the differences between them and traditional iron sights as it pertains to performance pistol shooting. Topics in the lecture included considerations regarding optic selection, maintenance schedule, and configuration. Additional topics touched upon instructor responsibilities, skills and curriculum development. The rest of the class took place on the range with the exception of a brief closeout and retrospective that occurred at the end of the third day. While the duration of the academic portion was brief, it was densely packed with meaningful and pertinent information that would be revisited on frequent and regular basis on the range.

The very first thing we worked on at the range was the presentation of the pistol from the holster which is incredibly important since “finding the dot” is something that pretty much every individual who is new to pistol mounted optics struggles with. This is because it only takes a miniscule amount of misalignment for the dot to leave the window. It’s something I’ve experienced and written about before. The key to finding the dot immediately after presenting the pistol is a consistent presentation. To work on this, we were introduced to a dry fire drill. I don’t recall the official name of the drill. I remember it as “Starting from Perfect”, I also remember it being referred to as a “Reverse Draw”, and my buddy wrote it down in his notes as the “4-1/1-4” drill. The gist of it was to start with the pistol properly presented with a solid grip and aligned with the target, then slowly return the pistol back to the holster by reversing the draw while paying attention to all the important details (such as where/how the support hand separates from the two handed grip and where/how the master grip releases the pistol), once back to the start position, draw the pistol to full presentation with moderate speed (say 80%). Ideally the dot should be immediately visible on the eye target line when the presentation is complete (or right before that moment).
With the presentation of the pistol tuned up, we changed our focus minimizing, or ideally eliminating, the input we provide to the gun when pressing the trigger. In other words, being able to press the trigger without disturbing the alignment of the muzzle and the target. The input usually comes from two sources – a bad trigger press or recoil anticipation (the dreaded flinch). The input can be mitigated by increasing the support hand pressure to the extent of one’s ability to apply pressure with the support hand. While grip technique matters and can help, the amount of support hand pressure one can apply is limited to an individual’s grip strength and the fit of the gun. To identify and diagnose the source of input, we used a drill called the “50/50” drill which is essentially the same drill I learned to call the “live/empty” drill. The drill is set up by loading a round into the chamber and removing the magazine from the pistol. Once set up, the shooter aligns the pistol with the target and takes two shots – the first sends the chambered round into the target and the second reveals movement caused by input from the shooter since it’s a click on an empty chamber. One difference that was emphasized for this drill that I don’t recall being emphasized before was to press the trigger twice at maximum speed which should minimize the amount of additional conscious control the shooter can apply on the second shot since they are aware that the second trigger press will result in a click. Taking the diagnostic input from the second trigger press, the shooter can now make adjustments to subsequent iterations of the drill to reduce the amount of input they put into the gun while working the trigger.
The class then moved on working on shooting doubles, which is something I was introduced to when I attended Ben Stoeger’s Practical Shooting Fundamentals class. The idea is to shoot three to four pairs into the target with each pair being fired as fast as one can pull the trigger on the second shot. Previously, I had only thought of doubles as a drill to help one learn what they can get away with in terms of what they need to see for a second shot. By “what one needs to see”, I am referring to how much detail or visual input one needs from the aiming system in order to get a good second hit at maximum speed. Jon presented this drill as a diagnostic drill specifically for the grip. A good grip allows for consistent recoil movement and recovery from shot to shot. Assuming we are providing very little input to the gun each shot and the recoil and recovery is consistent, the second shot should impact the target relatively close to the first shot. Shooting multiple pairs reveals whether or not the grip maintains consistency or starts falling apart on subsequent shots. Additionally, the target doesn’t lie. Either grip is consistent and input is low and one yields a reasonable group on the target proportional to one’s skill level, or the target starts looking like it was hit by buckshot at a reasonable distance. Additionally, this drill can help diagnose issues with one’s ability to maintain precise visual focus on the target. I suppose it is fair to say that I saw this drill in a whole new light with a ton more value than I had seen before.

We wrapped up the first day with working Bill drills. This seemed to me to be a very natural flow and conclusion at the end of day one because it combined a consistent presentation with rapid manipulation of the trigger. It’s all the things that got tuned up throughout the day put together – precise visual focus, fast presentation, seeing what you need to see on the first shot of three consecutive doubles. At least for me, it was exactly what I needed. I came in with a few grip changes that I had recently introduced in dry fire intentionally that I had yet to verify with live fire and turned out to be problematic. The doubles drill helped me diagnose and correct the grip issues. By the end of the day, I was shooting some of the best Bill drills I had ever shot. In fact, the biggest take away for me from the first day was something that Jon mentioned in the morning’s lecture, “live fire validates previous dry fire work and informs the following dry fire session”.
I almost forgot to mention that we worked on zeroing the pistol red dot early on the first day. That segment affirmed my opinion on pistol optic zeros and echoed what I typically say on the matter – the distance of the zero really doesn’t make much of a difference. Ten yards is fine and it’s much easier to accomplish. Twenty five yards is also fine and leads to a more refined zero, but it’s also more difficult to do as it magnifies errors that result from shooter input. The important thing is to have a zero and learn how to put the impacts where you want and need them to go.
Day 2
The second day started out back on the range with a few more pistol optic specific topics. The first of which was parallax. When it comes to optics, parallax refers to a change in the apparent position of the target relative to aiming reference that is caused by a change in the observer’s line of sight towards the object as the image is transmitted through lenses. While parallax effects are present in pistol mounted optics, the effect of parallax is negligible at the distances targets are usually engaged in with a pistol. Furthermore, while the effects of parallax are more apparent when the target is seen through along the edges of the optic window, the dot and target do not have to be centered and aligned within the optic window in order to get accurate impacts. The dot simply has to be aligned with the desired point of aim on the target. The dot’s and target’s position within the window don’t matter, once again, at the typical distances targets are engaged with pistols. This simplification of aiming without having to align additional things (such as the front sight to the rear sight) combined with maintaining visual focus on the target is what allows skilled marksmen to get accurate hits faster with pistol mounted optics when compared to traditional iron sights.
We then took some time to discuss pistol mounted optic failures and how to deal with them.
And then we took some more time to discuss the use of occlusion to help develop precise visual target focus. A number of students decided to keep their dots occluded for the remainder of class which I have done before and is something I continue to do when shooting matches. I, however, did not keep my dot occluded as I found the blue painters tape that we used to be far more distracting than helpful with the amount of light it let through.
Next on the agenda was shooting controlled pairs. This is similar to shooting doubles, but differs in the sense that the second shot is fired as soon as, but only, when we have sufficient visual input to get a good second hit. How much that is depends on the difficulty of the shot relative to the shooter’s skill. For easy shots, a physical index may be sufficient. For extremely difficult shots, one may require a settled dot with only minimal wobble on the precise point of aim. This drill helps one develop and improve their visual patience while decreasing the tendency to over confirm less difficult shots at various distances.
One handed work followed with both strong and support hands. Most folks don’t like one handed work, but it’s necessary as it may be needed when the flag flies. I may be in the minority of folks who enjoy one handed work, but for me this is the best place where one can get feedback on how skilled they are at working the trigger since shooter-introduced input can’t be masked with additional grip pressure from the non-shooting hand.
The emphasis shifted to transitions with a few different drills including the failure to stop (or Mozambique) drill, box drill, and crisscross drill. All of these drills involved work on refining the use of vision to move the pistol from point of aim to point of aim, that is moving the eyes from one precise visual once shooting that target was finished to a precise location on the next target and allowing the pistol to follow. Another fundamental skill that got some attention was posture. Jon placed a heavy emphasis on posture instead of using stance to help students focus on the alignment of their hips to each target in order to reduce tension that results from torso rotation. This is something that I am going to be working on with a fair amount of focus in the near future since it’s an area that I have placed very little to no emphasis on improving in my previous practice.
The second day came to a conclusion with the introduction of movement by adding it to the drills we had already been working with. The emphasis here was to simply move. Not slowly or quickly. Rather naturally using a pace one has been using throughout their life. The shooting still remains the shooting. It’s just done while moving instead of standing still.
Day 3
The third and final day focused on coaching and instruction. We reset and started back with the initial drills we ran on the first day, but paired off with one student taking the role of instructor and helping the shooter identify and improve the application of their fundamental skills. I won’t rehash the drills or how they were used for improvement since that’s already been covered. Instead I’ll mention that I was impressed by Jon’s ability to observe and coach the instructor on observation techniques. He would ask questions like:
- “Did you see what happened there?”
- “What are the possible causes of that?”
- “What things can be tried to correct or improve that?”
All of that helped the student playing the role of instructor learn details to look for while resulting in additional feedback that the shooting student could use to improve.
The range time wrapped up with a standards test consisted of 25 rounds across nine strings of fire which ranged from contact distance to 25 yards including transitions, movement, one handed work, and malfunction clearing. Hit factor scoring was used and the top shooter was recognized during the final classroom retrospective as the top shot.
Closing Thoughts
Overall, the class was fantastic. I would summarize it as a two day performance pistol shooting clinic with a pistol mounted optics focus followed by a one day coaching clinic. The clinic was decorated with a smattering of information that can be used to help law enforcement agencies update their training and armory programs to begin supporting pistol mounted optics. That same information can help defensive pistol instructors adapt their curriculum to better support armed citizens who are considering or using optics on their defensive pistols. It should go without saying that the first two days, which Jon confirmed make up the curriculum and course work of the two-day non-instructor version of this class, is beneficial to anyone who wants to improve their technical marksmanship with optic equipped pistols.
It’s a solid class that is priced extremely competitively given the value that it delivers. Folks who are looking for this type of course as instructors or shooters should consider taking a look at the upcoming course schedule found on the Outrider Training Group website and booking a seat. It’s time and money well spent.